Gluing the hull sides to the frames was a bit of a challenge, as the bottom has to curve up at the ends, and the hull sides have to curve inward, so that the ends meet. It would have been nice if this kit had been designed with some sort of building jig, rather than relying on tape to hold things into place while the glue dries.

However, I did find that taping, plus the heavy use of small spring clamps did the trick. Be sure you have plenty of these on hand before you start gluing the hull sides onto the frames. This step is so important that I thought I’d post this image again of the gluing process, showing all the tape and clamps I needed to use.
The use of slow curing CA glue is called for in the instructions, and having gone through the process, I think I agree that slow cure CA makes the most sense. It’s thick, and it gives you the time to make sure everything is properly aligned before it sets. And, if you want to be a speed builder, you should be able to use a shot of accelerator during the process, though there are so many frames to do, I would be cautious about gluing onto an area where there may already be some accelerant on the wood.

Unfortunately, I did not take any intermediate photos, so my pictures go right past the next couple steps, which include painting the inside of the ends of the boat. The instructions make specific reference to Tamiya brand paints, so I decided to play it safe and just do exactly what the instructions call for. So, the inside ends are brush painted Tamiya flat black.
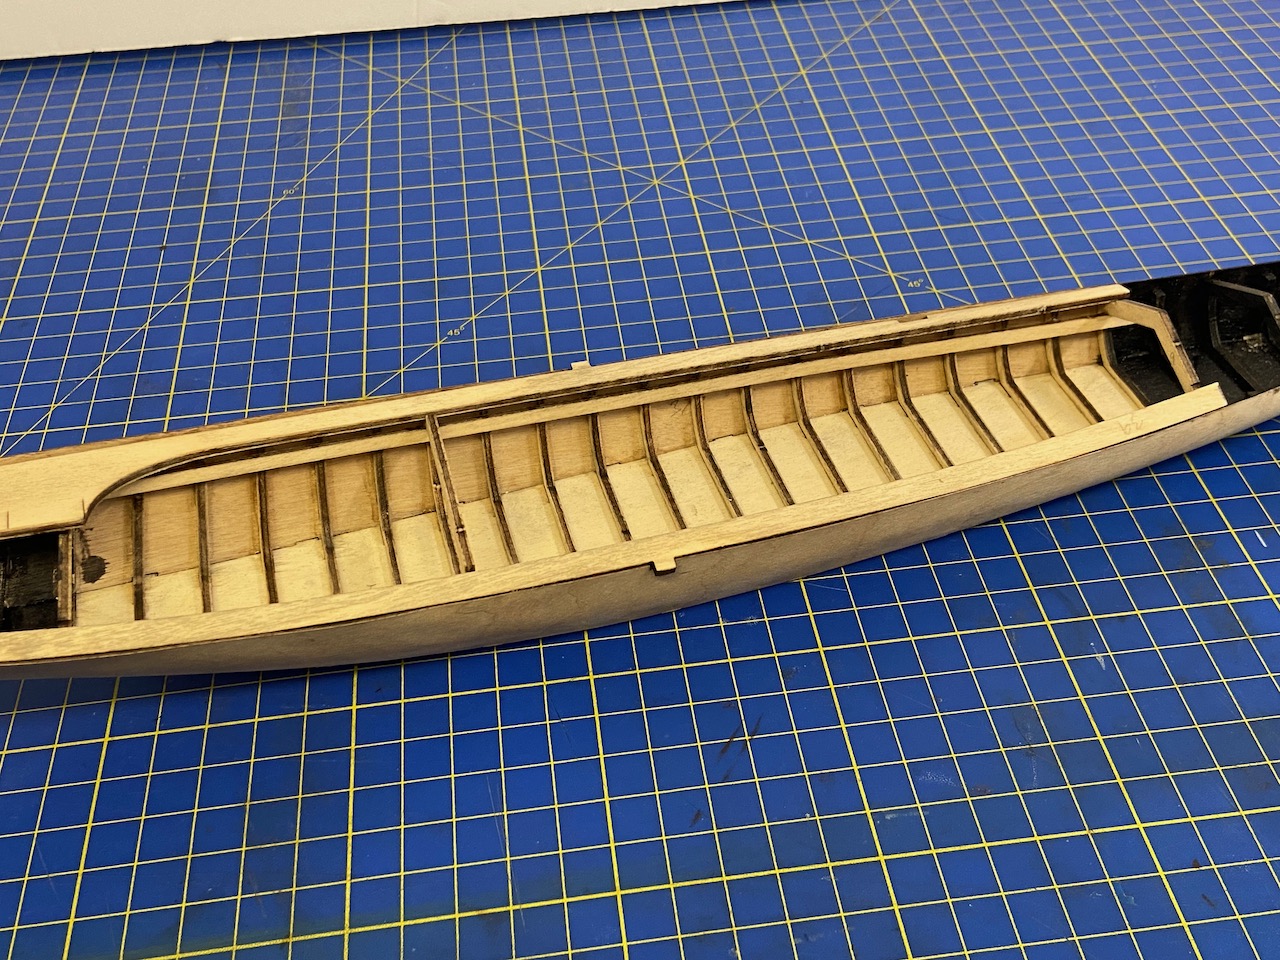
Next, there are couple deck pieces to add to the tops of the frames. Amati played it smart here by providing notches and tabs to aid in proper alignment. But, I strongly recommend reviewing the model and the orientation of the bow and stern, then double-checking, just to be safe.
Next are the bow and stern decorations, which are photo-etched from a sheet of nickel silver. Now, I have to admit, I never really knew what nickel silver was. It looks like a sheet of thin steel, but it turns out that nickel silver is actually an alloy that’s mostly copper, with some tin, and often some zinc.

The decorations are each in two pieces that have to be glued together. I cleaned up the parts after cutting them free from the metal sheet. Then, I clamped the two pieces together and then applied thin CA on the edges, thinking that capillary action would suck the watery glue right in. I’m not sure if that worked, as I was mostly confronted with glue on the surface of these shiny pieces, which are supposed to stay bright and shiny. I ended up having to clean the surfaces off with some CA de-bonder and then polishing the surfaces with a very fine, 2400 grit sanding pads.
The pieces then had to be glued into place at the ends of the hull in such a way that they lined up properly with the guide marks on the metal parts. They also had to lean about 5 degrees to the starboard side of the hull.


I don’t know how much lean this actually is, I just eyeballed it. My main guide was that they simply had the same amount of lean at each end. As a long-time ship modeler, it’s a bit disconcerting looking at a boat hull you just built and seeing this much unevenness.

Finally, internal stringers were added. Again, these parts are of different lengths, and you have to be very careful that they are located properly. You definitely have to double-check which end of the boat your looking at.
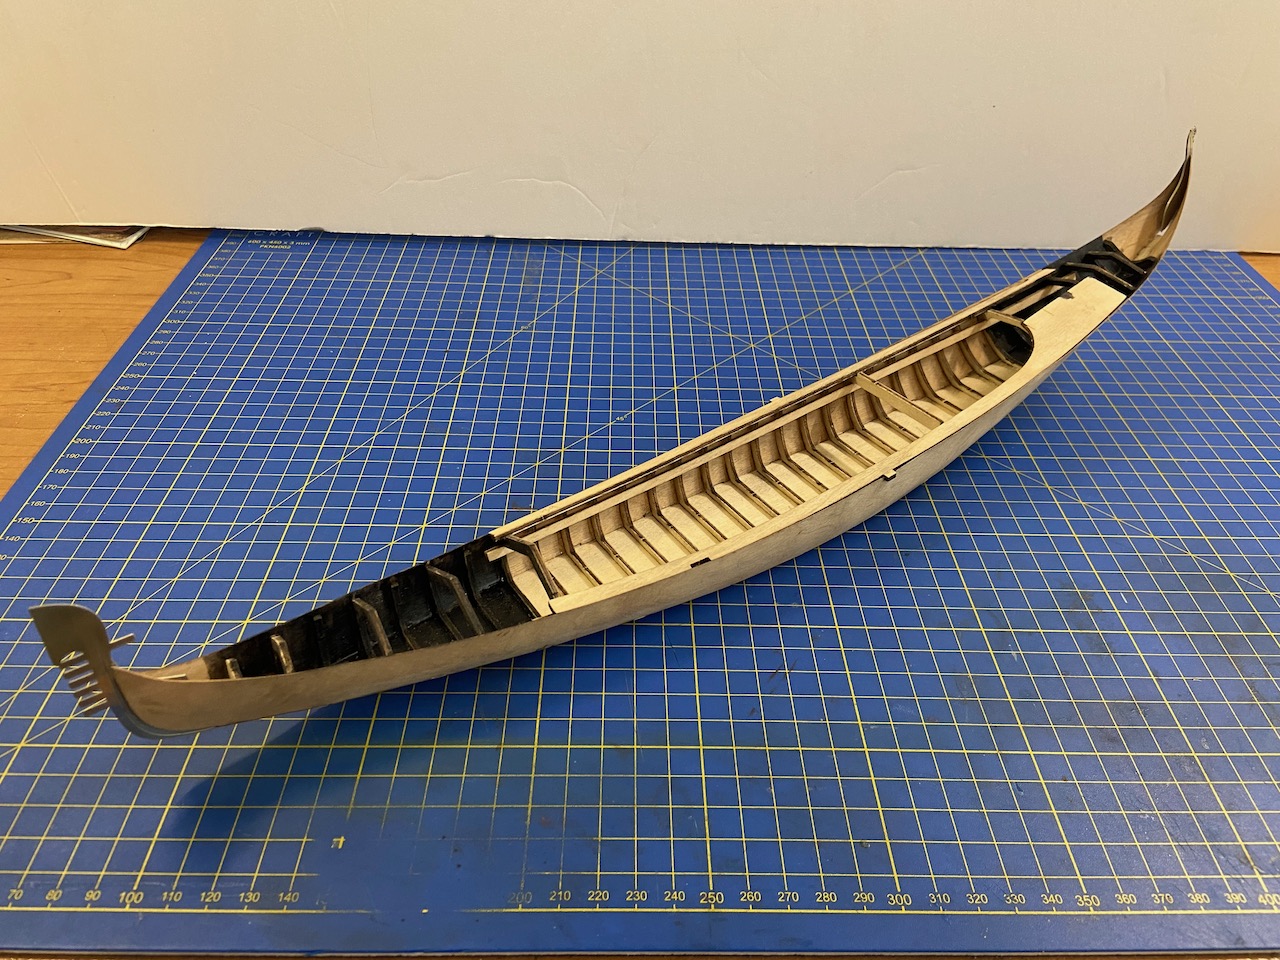
The gondola is starting to actually look like a gondola now. It looks like hull details are next, though I may just build the stand, so the model has something to sit on. Stay tuned!

Reblogged this on Ship Modeler and commented:
The Amati Venetian gondola kit is really starting to look like a Venetian gondola. It hasn’t even been a month, and the model appears to be moving right along. I’m guessing it will be done in the next month.
LikeLike