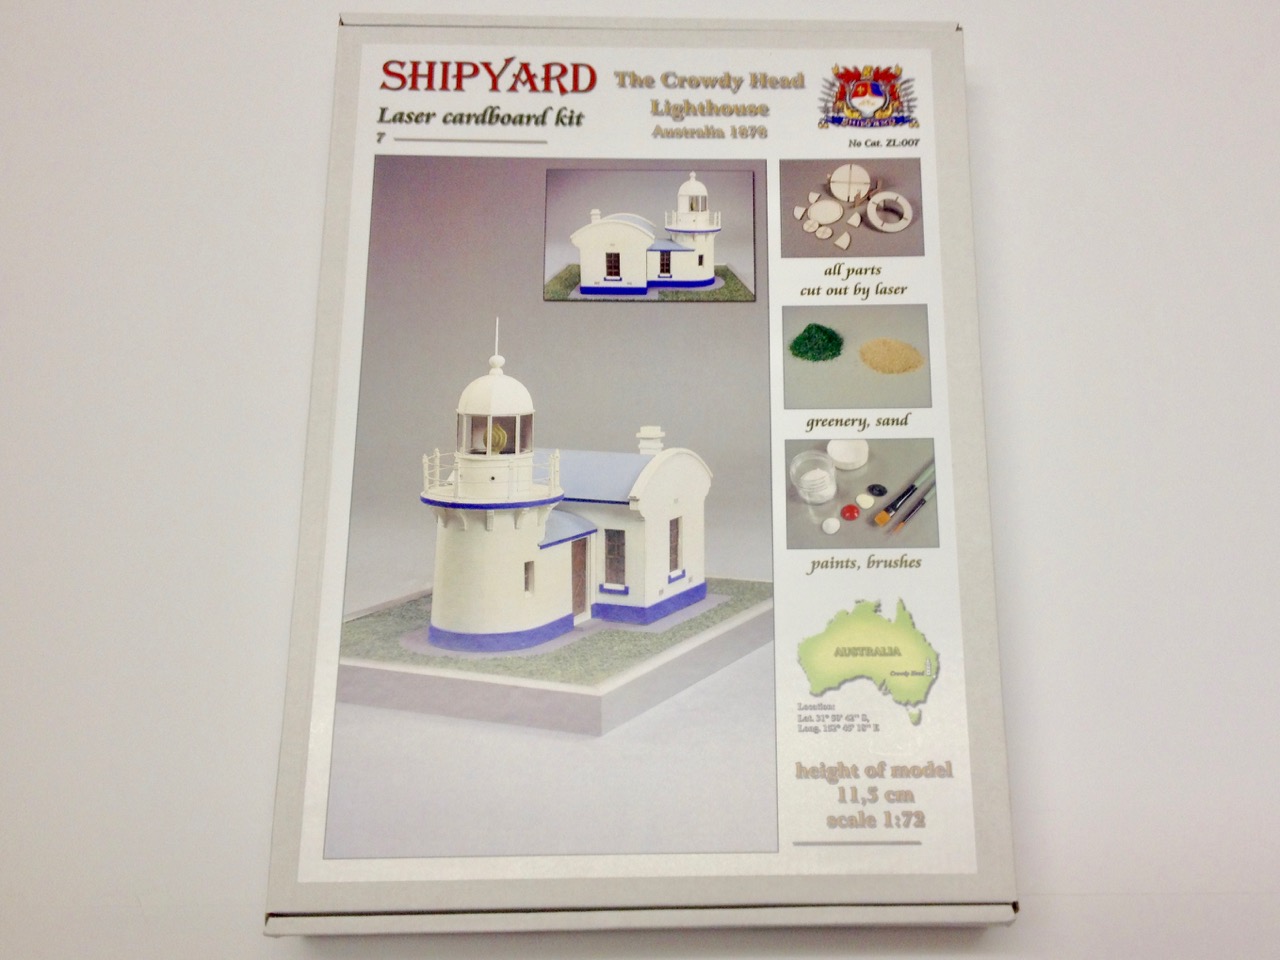
On our blog here, ship modeler Clare Hess will be taking a look at one of the more unique lines of model kits carried by Ages of Sail: Shipyard’s 1/72-scale Laser Cardboard kit of the Crowdy Head Lighthouse.

Article by Clare Hess –
I’ve completed one paper model sailing ship, but always thought the lighthouse kits from Shipyard were interesting looking. The Crowdy Head Lighthouse is, I believe, the smallest of the lighthouse kits available, and the least expensive. I chose this kit, in part, because I have a lot of projects on my plate and I really wanted to do a write-up of one of these kits, so I picked one that seemed fairly simple to construct.

Crowd Heady Lighthouse photo from Wikipedia
But, I also wanted to find something simple because I want to figure out if this would make a good introduction to paper/card models, or even a good introduction to model building in general. After all, few people have tried one of these Shipyard kits, and I think they’re pretty neat kits that a lot of people would enjoy building.
Different Lines of Kits
As with nearly all the subjects in the Shipyard line of kits, there are actually 4 different versions of the Crowdy Head Lighthouse kit. This selection makes things a little confusing.
- Laser Cardboard Kit, 1/72 scale
- Laser Cut Model, 1/72 scale
- Laser Cut Model, 1/87 scale (HO)
- Paper Model, 1/87 scale (HO)
Basically, Paper Models have pre-printed parts that you cut and glue together and they are very inexpensive. Laser Cut Models require you to paint the model, but the parts are all laser-cut for you from appropriately sized card stock. Laser Cardboard Kits are basically Laser Cut Models, but include paints, brushes, and greenery, all in a nicely boxed package, and are the priciest choice, but can easily be the best value.
For a relatively small model like this, there isn’t a huge difference in price between the range of kits, so I figured $37 was good. After all, it includes 5 jars of paint, plus it comes with greenery and sand, and a couple nice quality paint brushes. All of that is probably worth the $15 price difference from the 1/72-scale Laser Cut model version.
The Kit
The Laser Cardboard Kit comes in a neat package. Having built other Shipyard kits, I can attest to the fact that the box is VERY handy for keeping your parts safe until you need them.

Inside, besides all the part sheets and instructions, a little cardboard caddy at the top of the box keeps your paints neatly organized.

The numbers and color chip identify each of the colors, but there are no other labels. In fact, the kit instructions don’t identify the colors you are to use on the model, but it does provide a nice set of color photos as a guide.
The paints provided in the kit are excellent quality and I really like using them on paper models. They are water-based artist’s acrylics of a brand called Renesans that’s made in Poland.
The paint has a slightly coarse texture when it goes on, giving a nice flat finish. The paints are also not totally opaque, so if you don’t apply too heavy a coat, you can see the pre-printed or laser-scribed lines through it. Some kits, perhaps only older ones, provide tubes of paint. This kit, and most of the Laser Cardboard Kit series that I’ve seen lately, all provide paint in jars.
There is good and bad to this. The jars make it easier to work directly with the paint, but I find it’s best to apply the paint onto a piece of glass, where you can easily thin and mix paints as needed. The downside of the jars is illustrated with the kit I bought, where the paints were partially dried out. Fortunately, this paint revives perfectly with the addition of water and some thorough stirring.
With a limited selection of colors available, you’ll find that you have to mix colors to get the exact shade you want. It may take a little practice to match colors, but there’s plenty of paint in the kit to experiment with.
Parts
If you’ve never seen one of these laser-cut kits, they are really fun to look through. The detail and precise cuts really make you want to just start building.

There are a couple different thicknesses of parts. Most of the structural parts are cut from a heavy card stock. Parts that make up the lighthouse’s facade are cut from thin card stock, with heavy use of laser scribing to create textures and details.
The window frames, in particular, are a bit tricky to work with as they are very thin, so you want to make sure that you work with a VERY sharp, thin blade. A lot of Laser Cardboard Kits even come with a razor blade, but not this one. That’s just as well, because I would want something to recommend for kids, and that wouldn’t be a kit that includes a razor blade.
Still, you’ll need a sharp hobby knife, or even a scalpel, which is a lot thinner and sharper, and make sure to carefully “chop” through the tabs that hold the part to the sheet.
That brings me to one of those items you don’t want to be without if you’re building one of these card/paper kits, and that’s a cutting mat. Ages of Sail carries a nice selection of self-healing cutting mats from Modelcraft Tools.

Other items in the kit include wire for hand rails and a piece of clear acetate for the windows.

There’s also bags of fake sand and grass to landscape your completed model when it’s done. Finally, there are a pair of very nice quality brushes included, which I really liked using.
Instructions
Of course, no kit is complete without instructions. If you’ve ever built a paper model kit before, you’re probably accustomed a general lack of written instruction. If not, you want to get used to building by diagrams and part numbers. Fortunately, for a relatively simple subject like a small lighthouse, it’s not difficult.

There is some written instruction included, but it’s mostly just there to tell you to build the kit in the order of the part numbers, and to pre-paint any parts marked with an asterisk (*). It does this in English, Polish, and German.
Again, there is no paint guide, but there is a very nice color photo page.

As I mentioned above, building is basically by the numbers. Just look very carefully to make sure you know whether a part glues onto the edge of another part or on TOP of the edge, etc. Test fit, and look carefully ahead in the instructions. Find your parts, and don’t cut out anything that you don’t need yet.
Next Time, I’ll post some pictures of the build and describe some of the challenges I came across in building the model…
