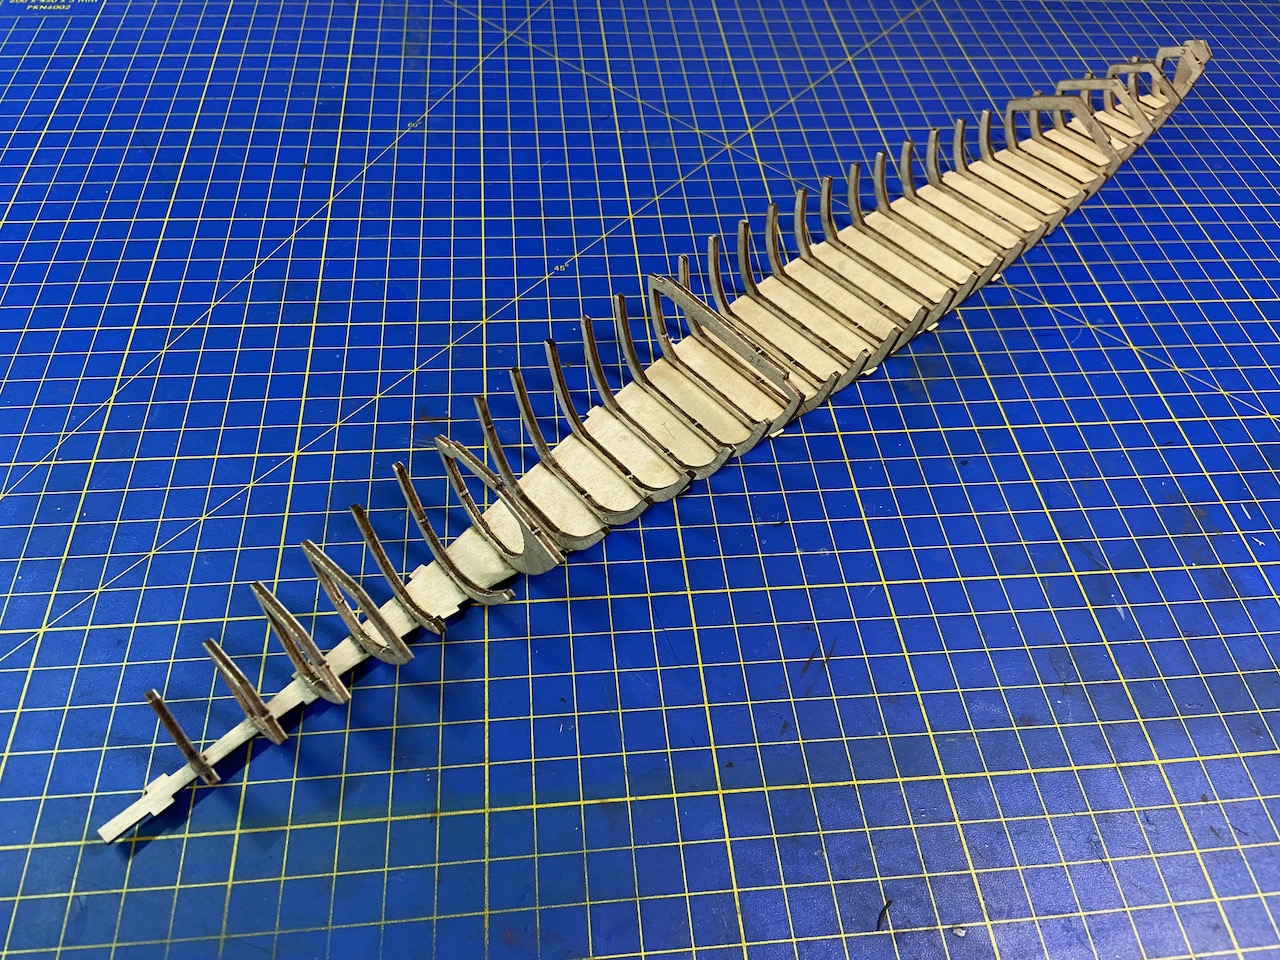
I added the remainder of the frames to the model, which didn’t take all that long to do. Overall, this early part of construction is pretty easy. However, the next step, the adding of the hull planks, looks to be the hardest part of the whole build.
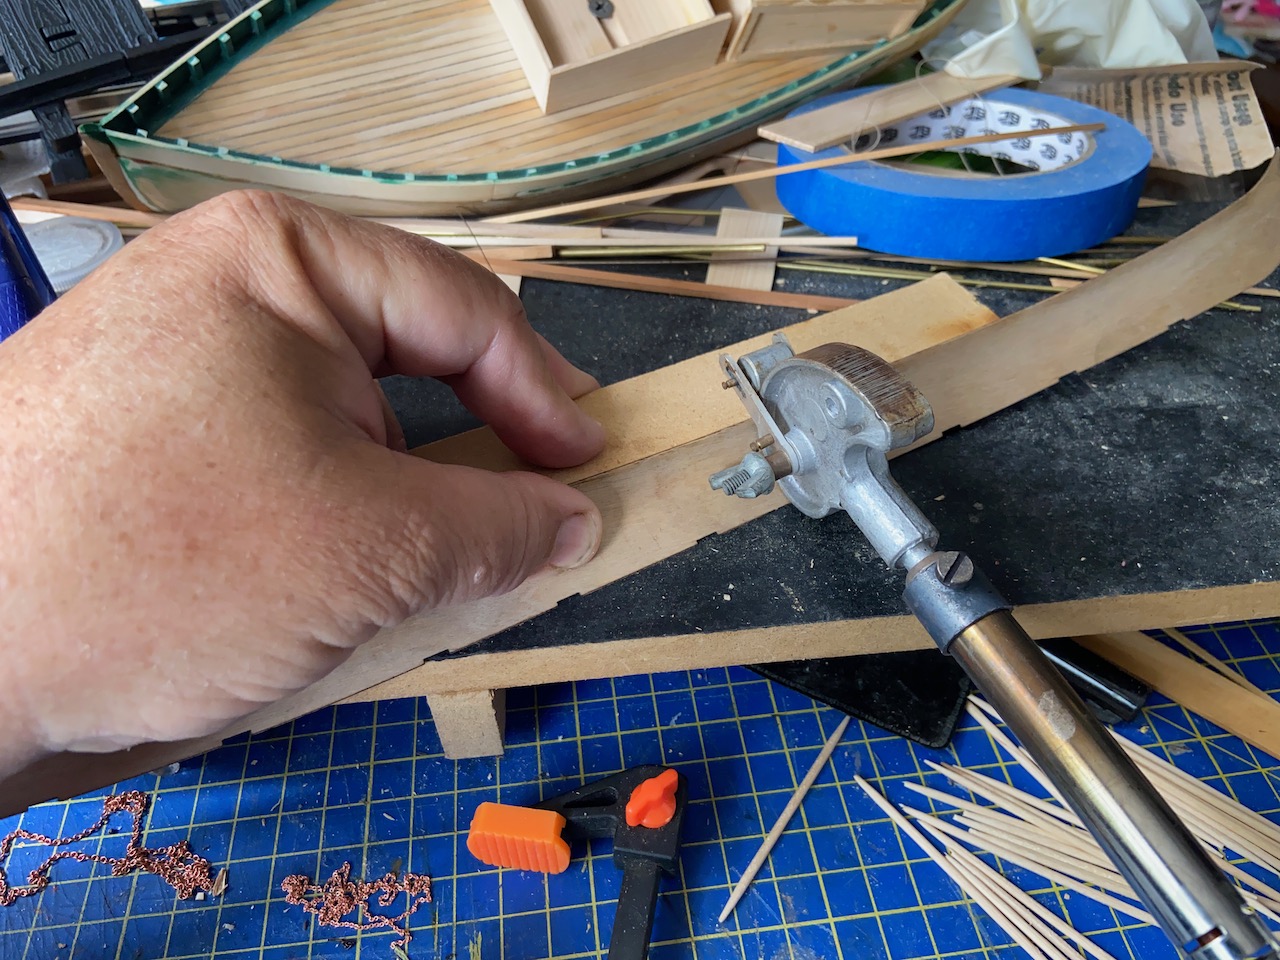
The next step involves preparing the hull plank pieces, of which there are only two. These pieces need to be shaped to fit the curved frames. The easiest way to do this is with an electric plank bender, as described in the kit instructions.
I took out my trusty Aeropiccola plank bender, which I’ve had for maybe 20 years, and which is no longer produced. There are other brands available. For the most part, these are just large, heat-dissipating metal heads attached to a soldering iron handle.
I propped up the edge of the plank on a block and used the plank bender to push the plank into shape. I lightly dampened the wood in order to aid in the bending. It’s important to only lightly dampen the wood, so as not to cause any weakness to the plywood layers.

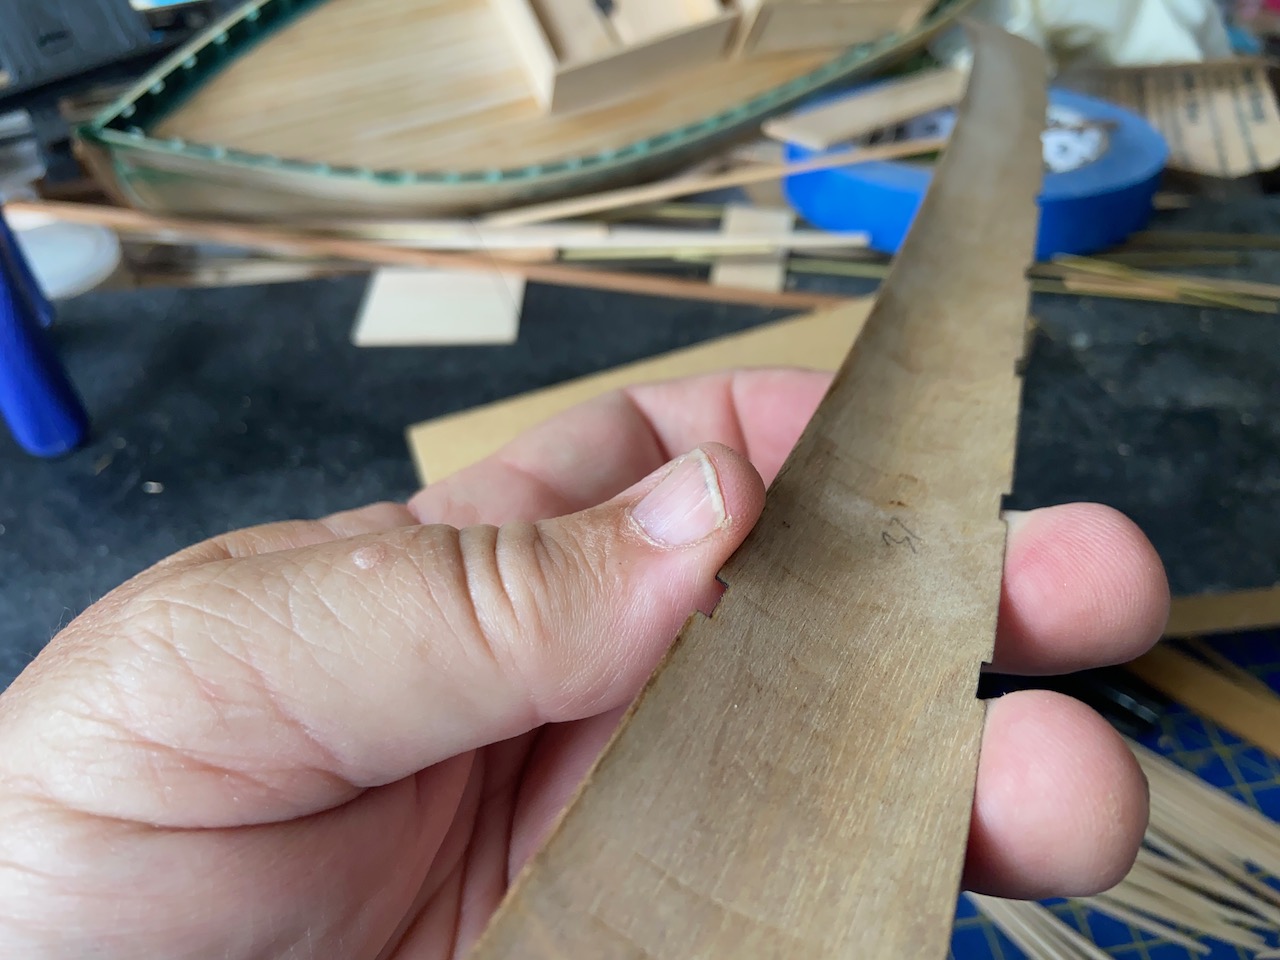
You have to be really careful which way to curve the hull planks as the two planks are different, specifically made for either the right or left sides. Check this very carefully before starting the bending process.
Test fitting, makes sure that everything was done correctly. It also makes it really clear how asymmetrical the boat’s hull is. In fact, it’s just a little bit disconcerting, given that as a ship modeler, it’s always so important to make sure the hull’s structure is symmetrical and free of twists.
I taped the now pre-curved hull planks into place to make sure everything would fit together properly. The hull sides and bottom are notched to help properly align the parts. Fitting it all together is a bit tricky as the bottom has to also curve, rising up at the ends.
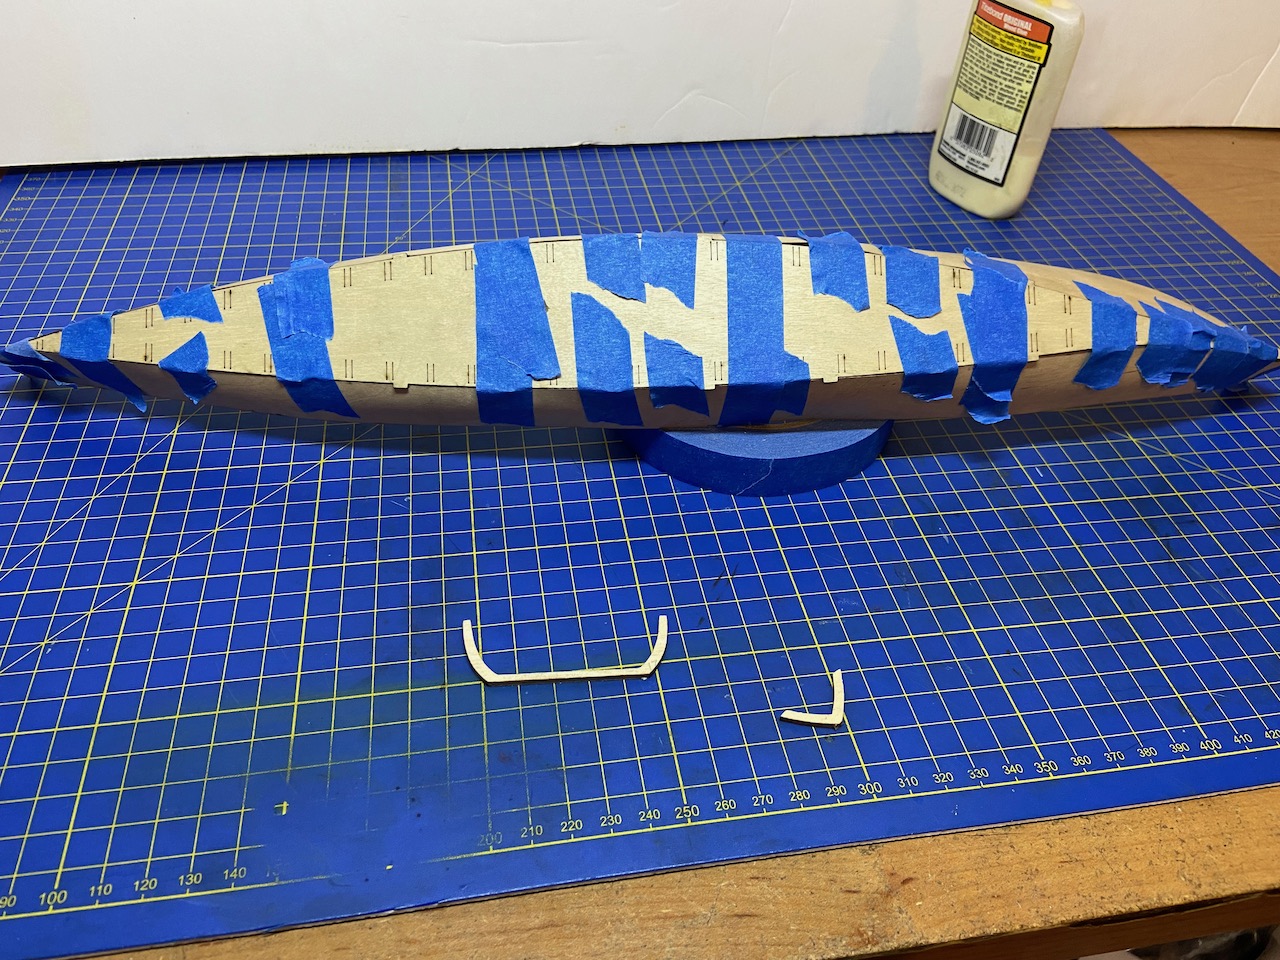
The stern end is the most confusing, as the bottom is difficult to curve upward at the very end. Hopefully, this will clean up easy enough later. Also, I had a couple frames pop out during the fitting process, but nothing broken. It was a pretty simple matter to glue them back into place.
Following the suggestions in the instructions in step 06, I used slow curing CYA glue for attaching the hull sides to the hull bottom. I didn’t glue the frames to the hull sides at this point. The instructions don’t seem to say when to actually glue the hull sides to the frames. I began doing this between steps 06 and 07.

Once the gluing of the bottom piece was done, I pulled off most of the masking tape and began the process of the gluing the frames to the hull sides, again using slow-curing CYA glue.


I’m taking my time gluing the frames to the hull – there are a lot of them. I’ll post next once all the frames are glued and the hull is cleaned up. At that point, some more hull details will get added and some of the first painting steps should begin.

Reblogged this on Ship Modeler and commented:
The Amati Gondola build continues. It’s quickly taking shape, but it looks like it’s not without its challenges. Nice looking kit.
LikeLike