Building the Amati Gondola – Part 5

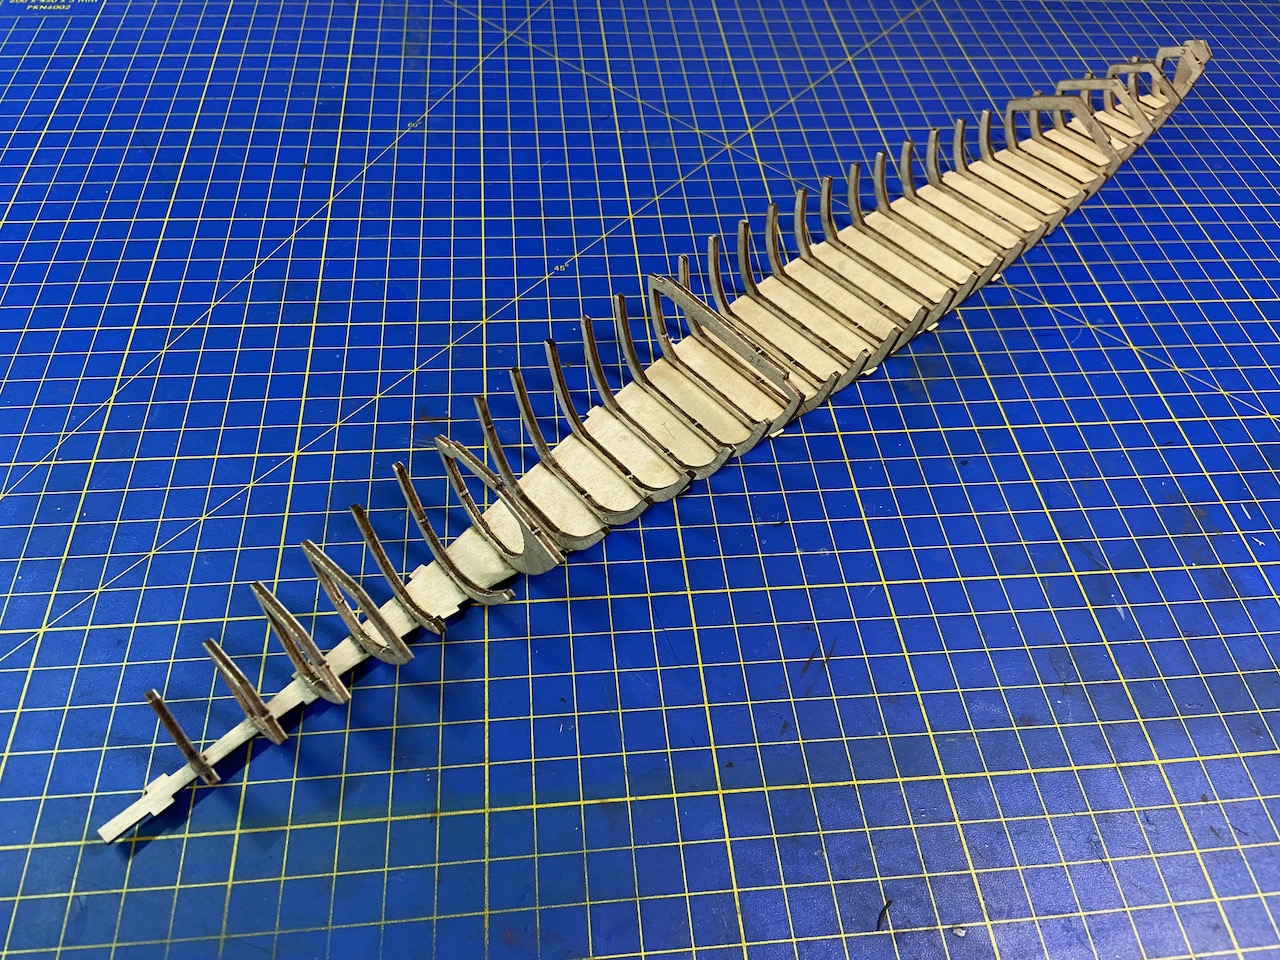
Progress on the Amati Venetian gondola kit continues with the addition of various hull details. The model has a lot of various panels that need to be added to the basic hull. As with nearly all the parts in this kit, these are laser-cut pieces, and in some cases, fitting them to my imperfectly built hull takes a little fiddling with.

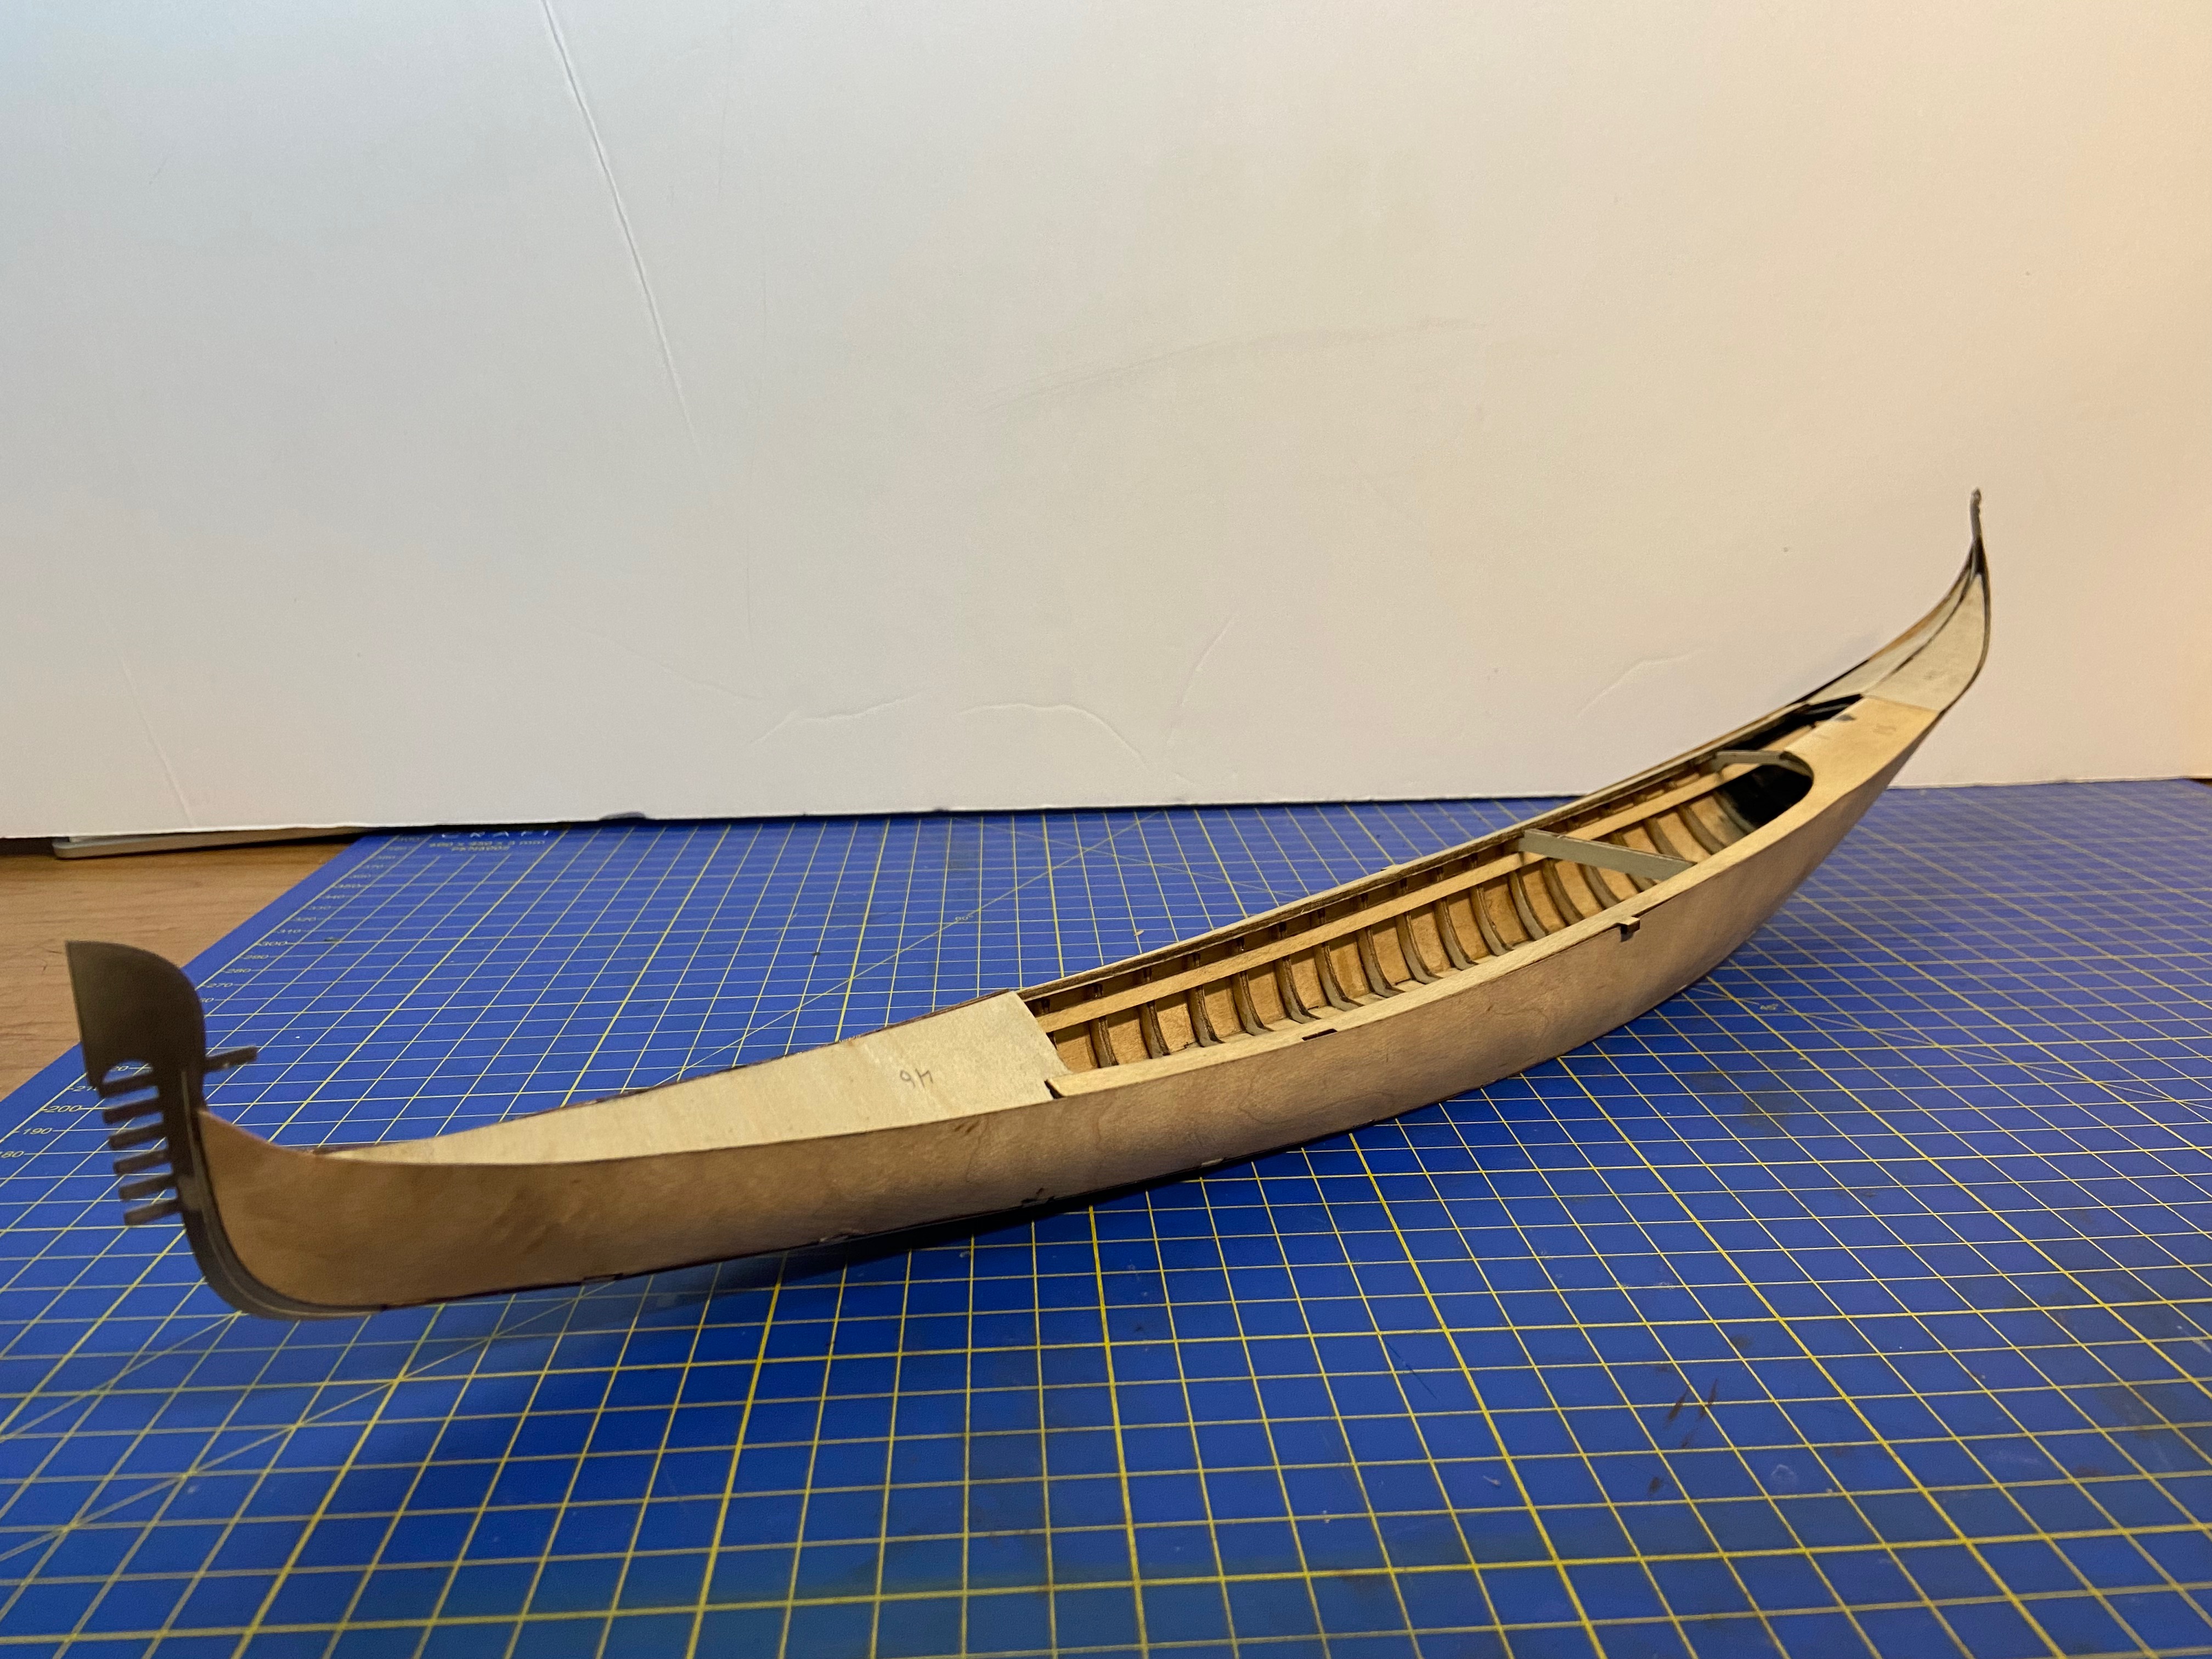
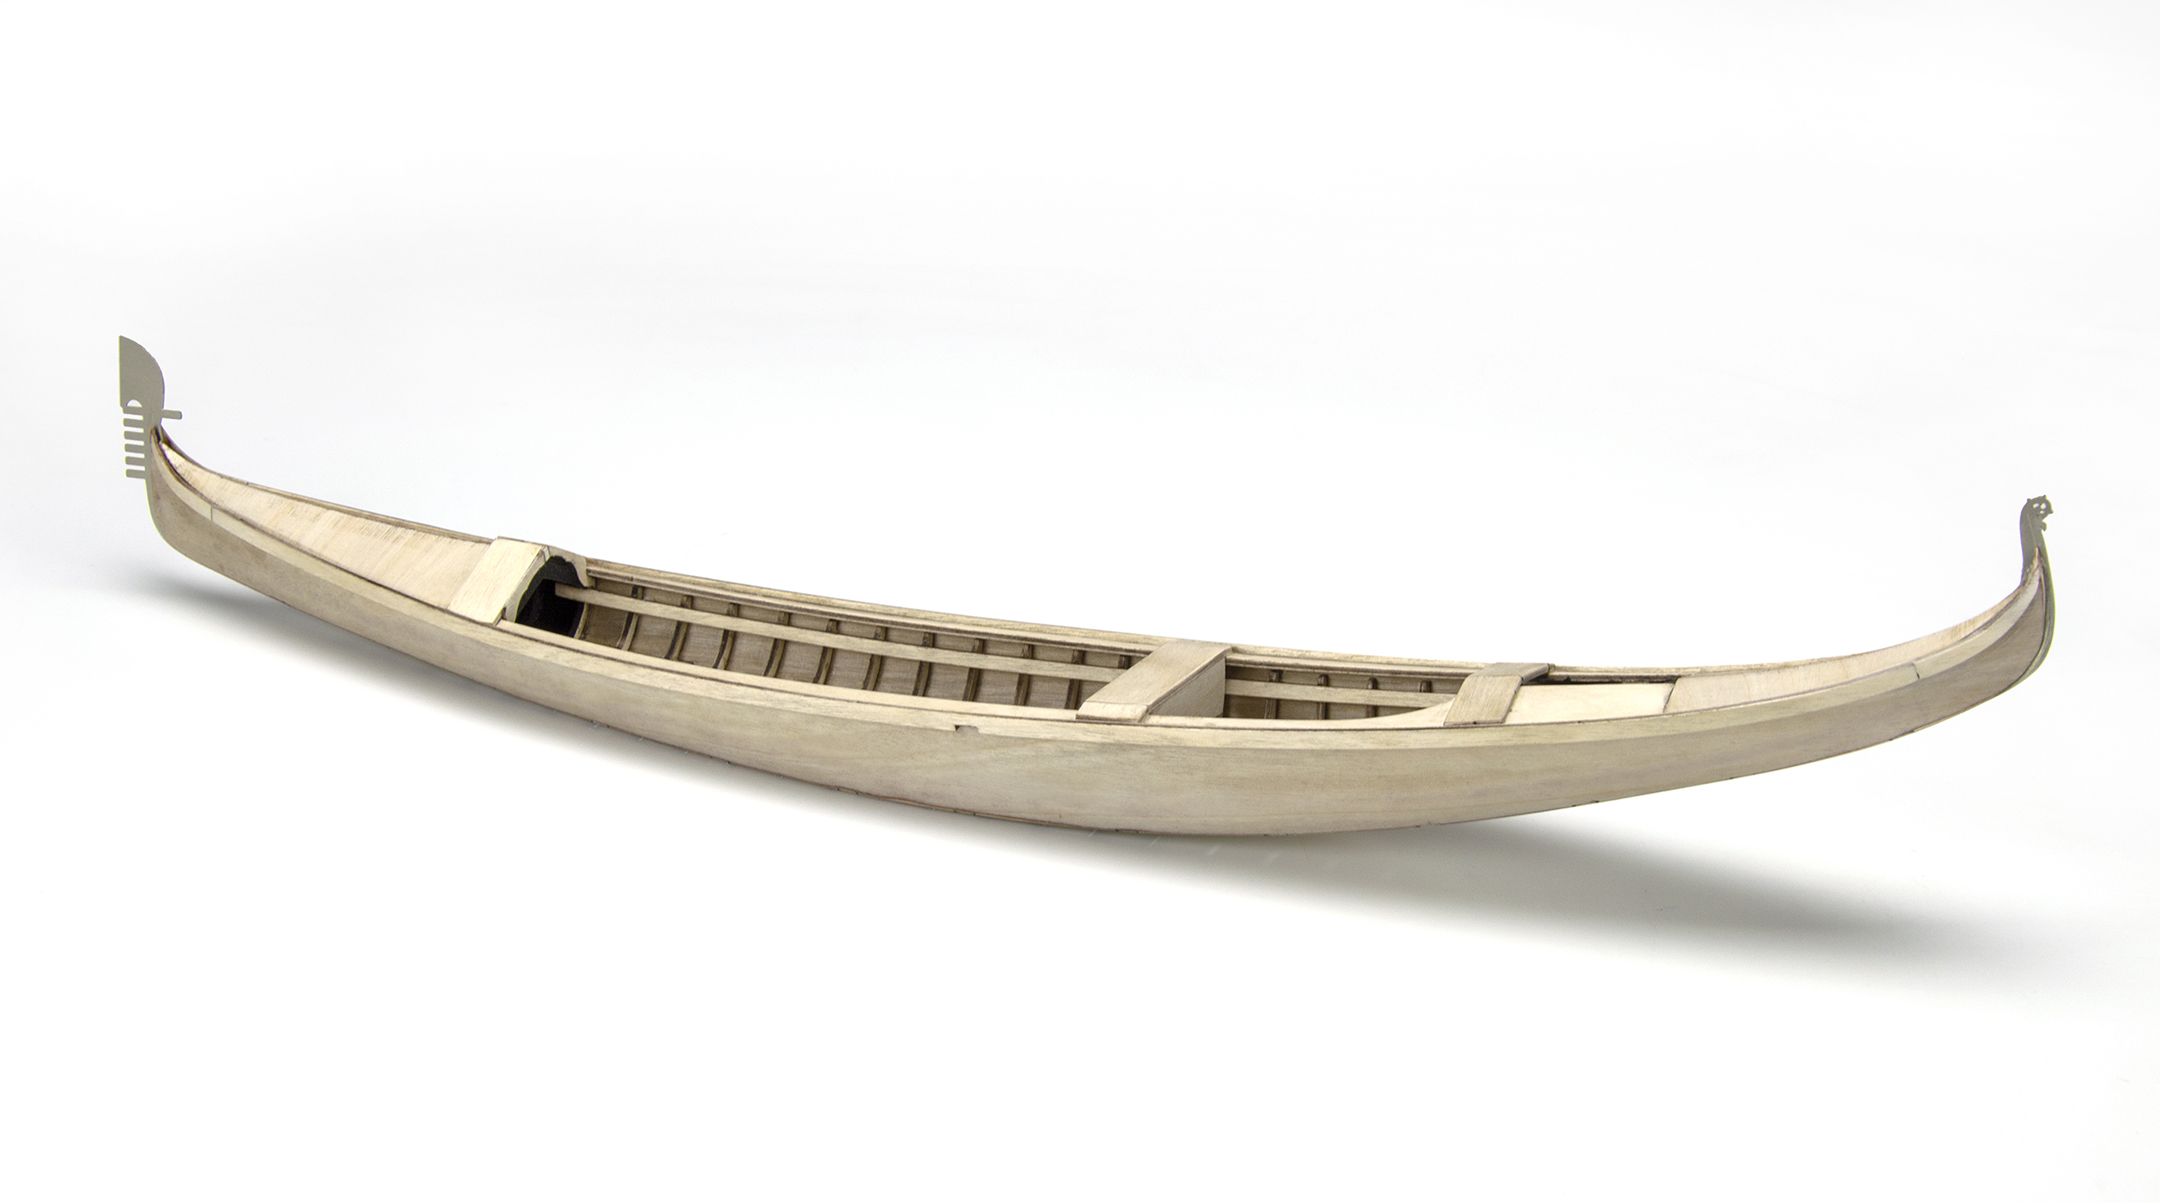
These decks at the ends of the hull are the last of the parts that make up the “basic hull”.

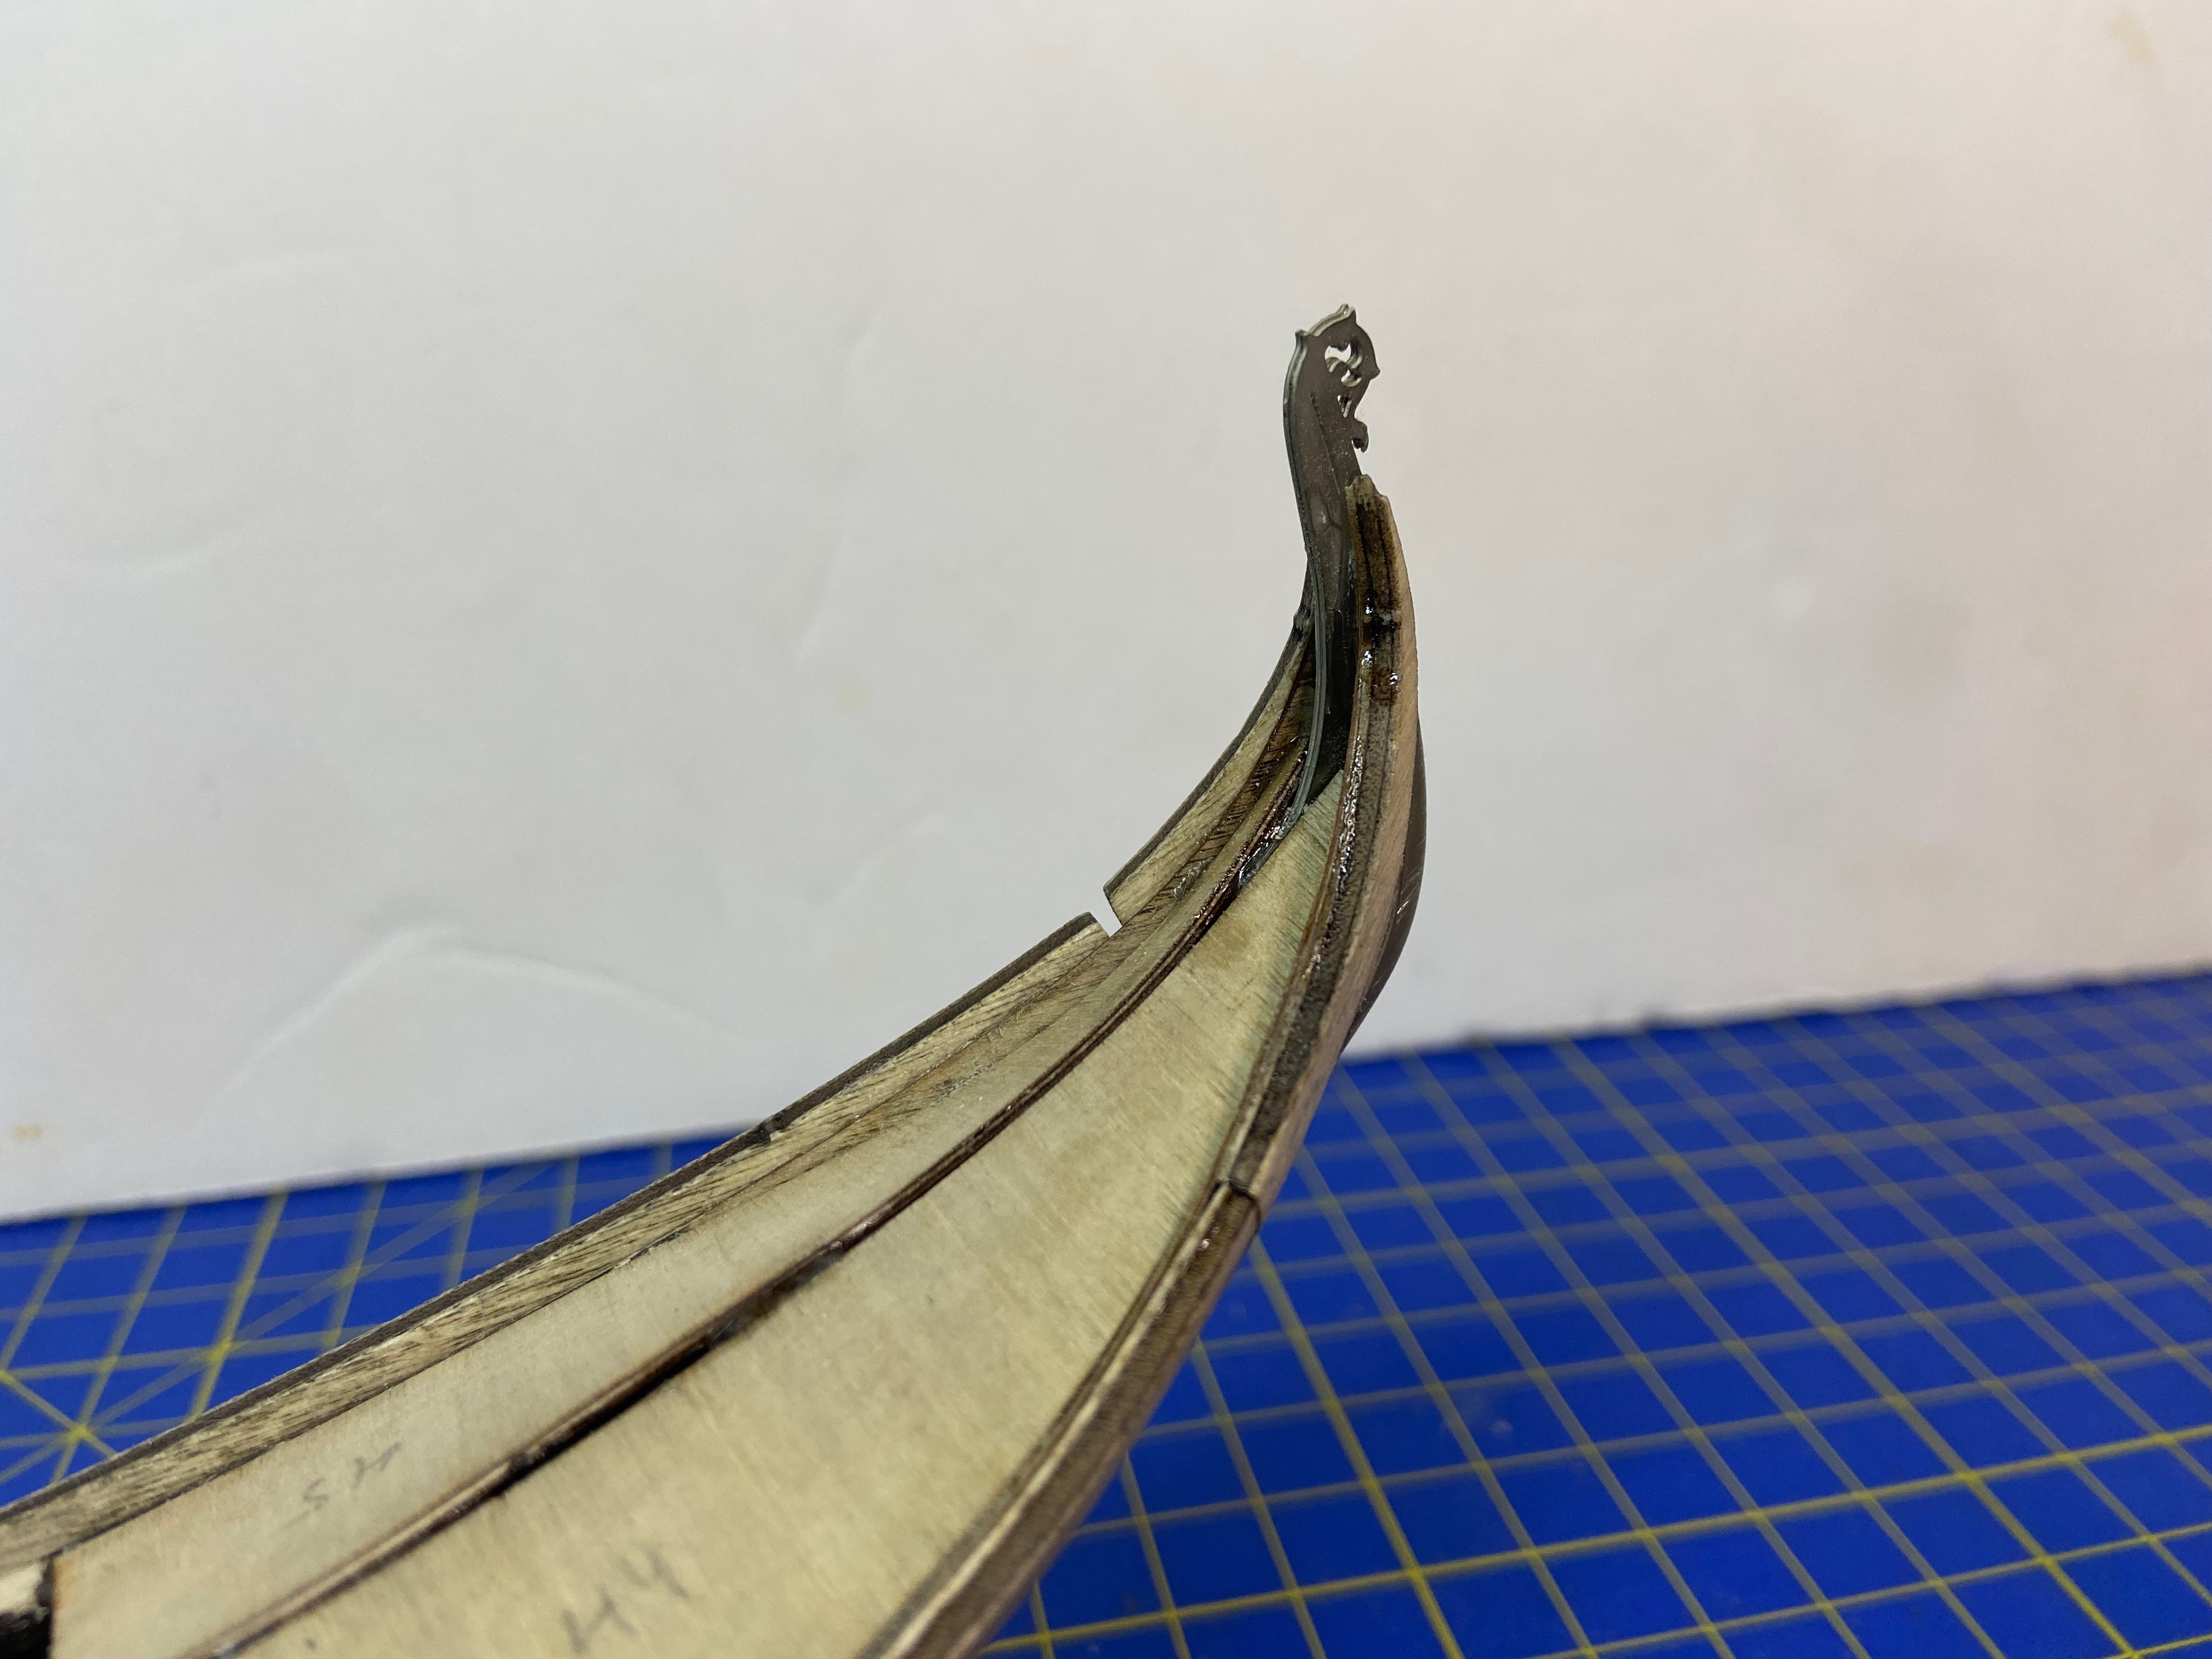
But, the part that I was most apprehensive about, was the addition of what might be considered a rub rail, which is a set of pieces that line the upper edge of the hull. Again, these are laser-cut plywood piece, and I was a bit concerned that they might not fit my hull very well, since I still feel that my initial placement of the hull pieces might be off, and the metal pieces at the ends don’t fit exactly as I think they should.

End pieces of the deck don’t line up exactly, but the edge will be hidden by other parts.

Still, things seem to look okay, and I seem to be able to adjust the parts so that they seem to fit. I just keep getting this feeling that I’ll eventually run into a problem because I didn’t mount things quite right, and it’s difficult to tell for sure from the instructions and drawings. This may just be my paranoia from having built other kits using all laser-cut parts.

At this point, I’m mostly dealing with the placement of detail parts, which go on pretty easily.

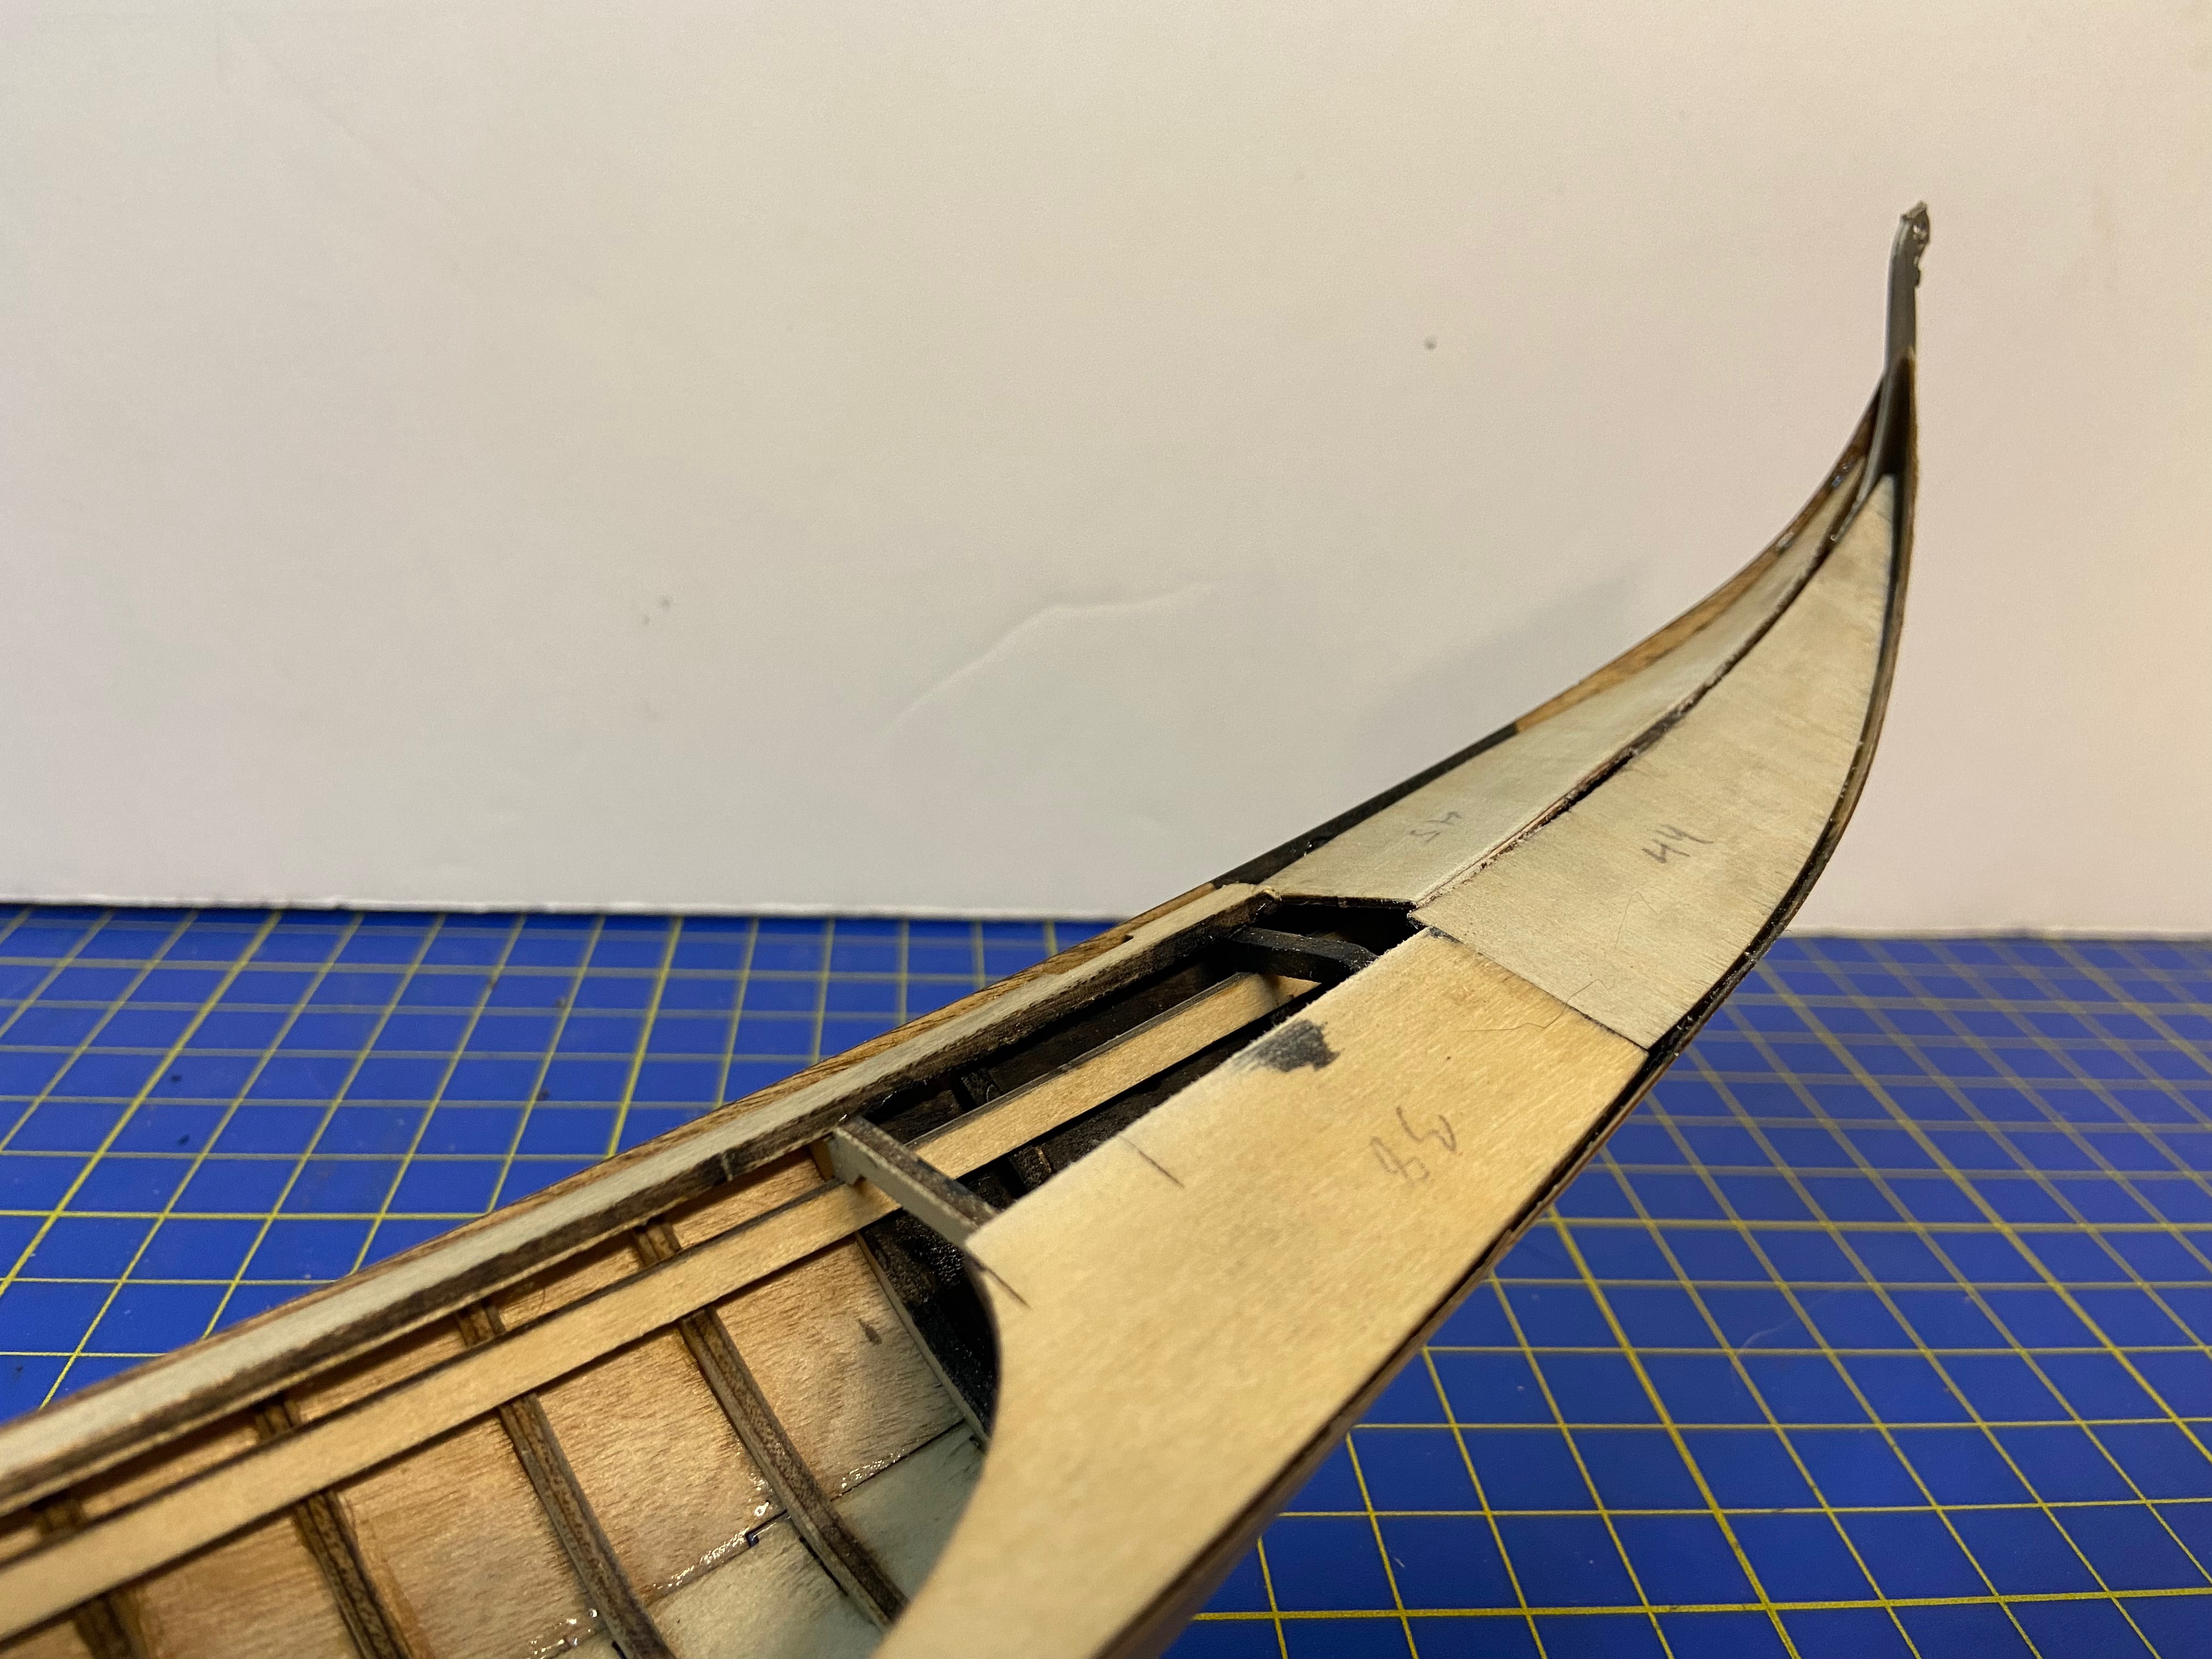
Next, we get to that rub rail I mentioned earlier. In the photos below, you can see that I didn’t get the starboard side piece correctly mounted, and you can see a gap at the stern. I wasn’t going to worry too much about this, figuring I could use filler to close the gap. But, then it dawned on me that there are some photo-etch pieces that will be added to this rail, so I can’t be changing the length. Instead, I’m removing the piece and adjusting it to fit better.

Since I’ve been using slow-curing CA glue, as recommended in the kit instructions, I had to use a little bit of CA de-bonder, which actually works quite well. Applied with a cotton swab, it was enough to soften the glue. Then, I could separate the piece from the hull using a knife blade. Afterwards, I made sure to clean up the area well, so a new glue joint would hold, but had not problem re-gluing.

After that, I added all the various details at the stern of the gondola. I think this mostly has to do with providing a solid foothold for the gondolier, and providing him a place to maybe sit while he’s not working, but that’s just a guess. I wish the instructions were a little more explicit about what each of the parts are for. I think that would make it easier to build, because logic and knowledge of the use of the parts can aid in making sure the parts are correctly fitted. But, a bit of Internet research helps, as there are many photos of Venetian gondolas posted online.

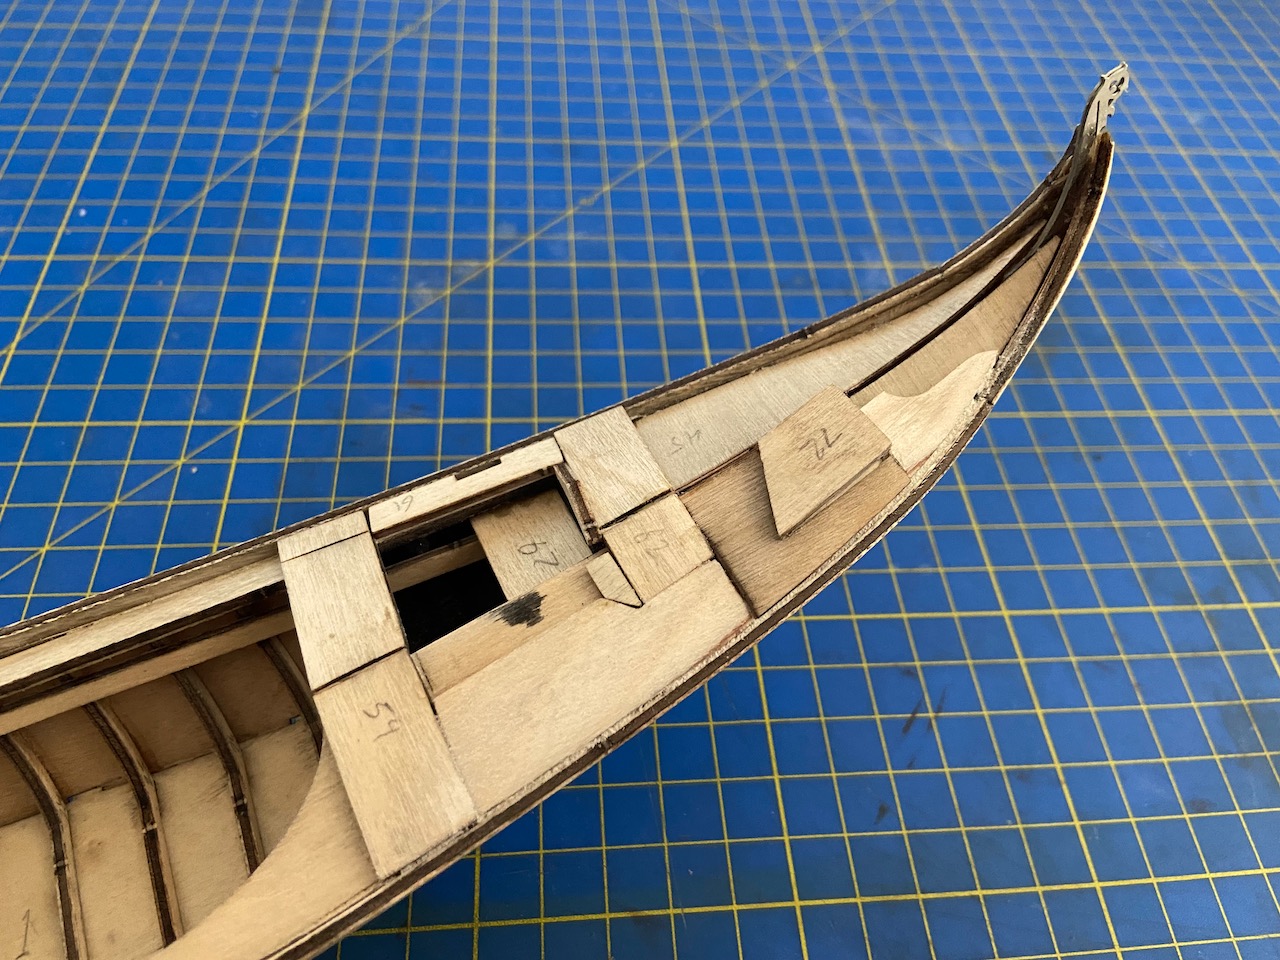
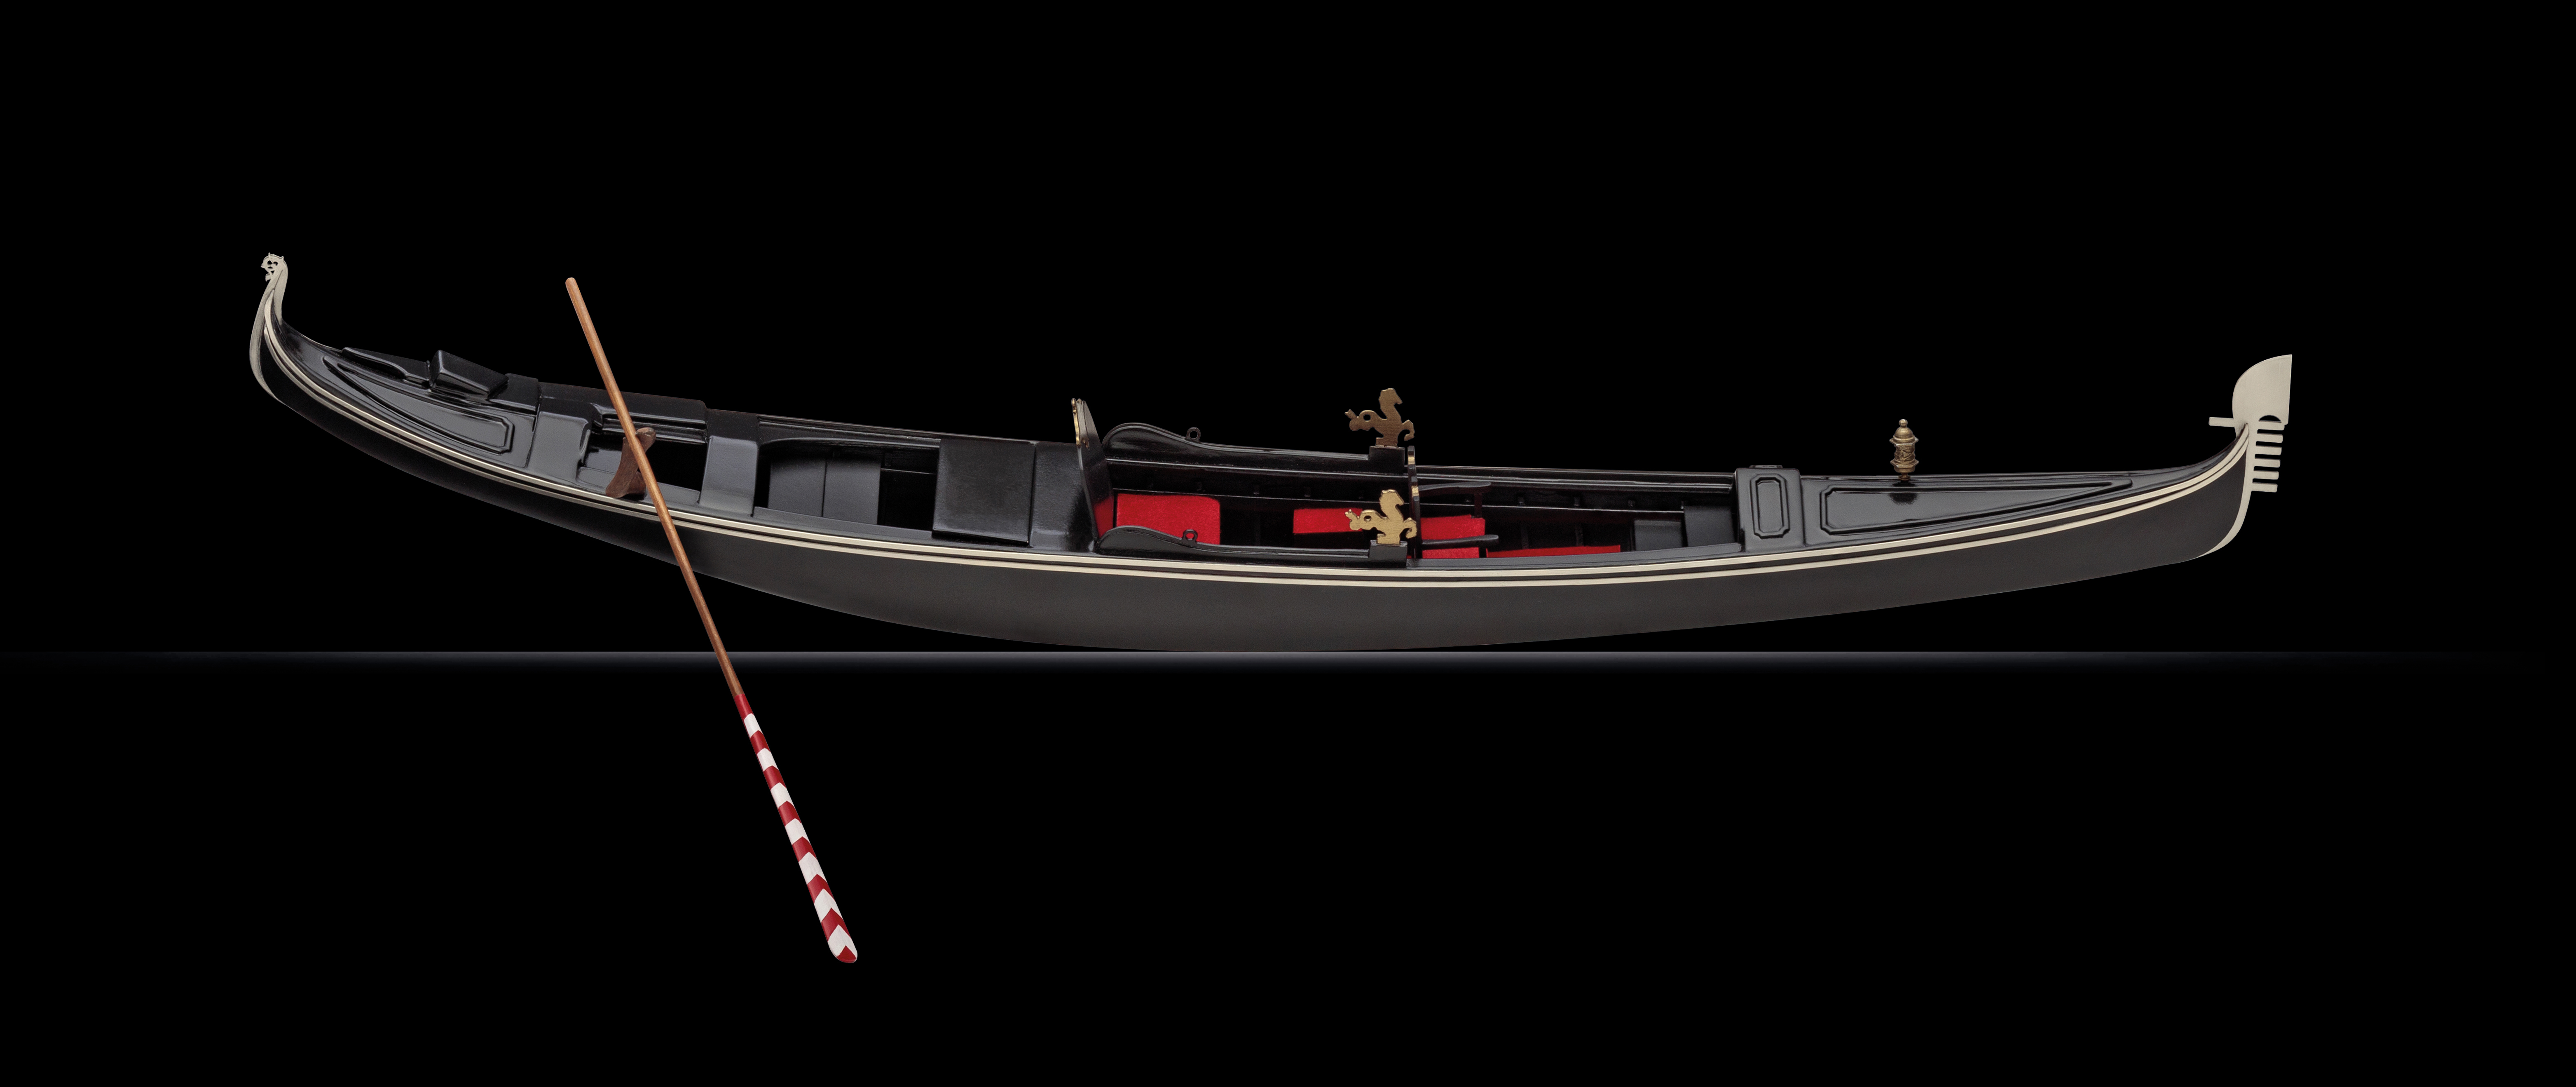
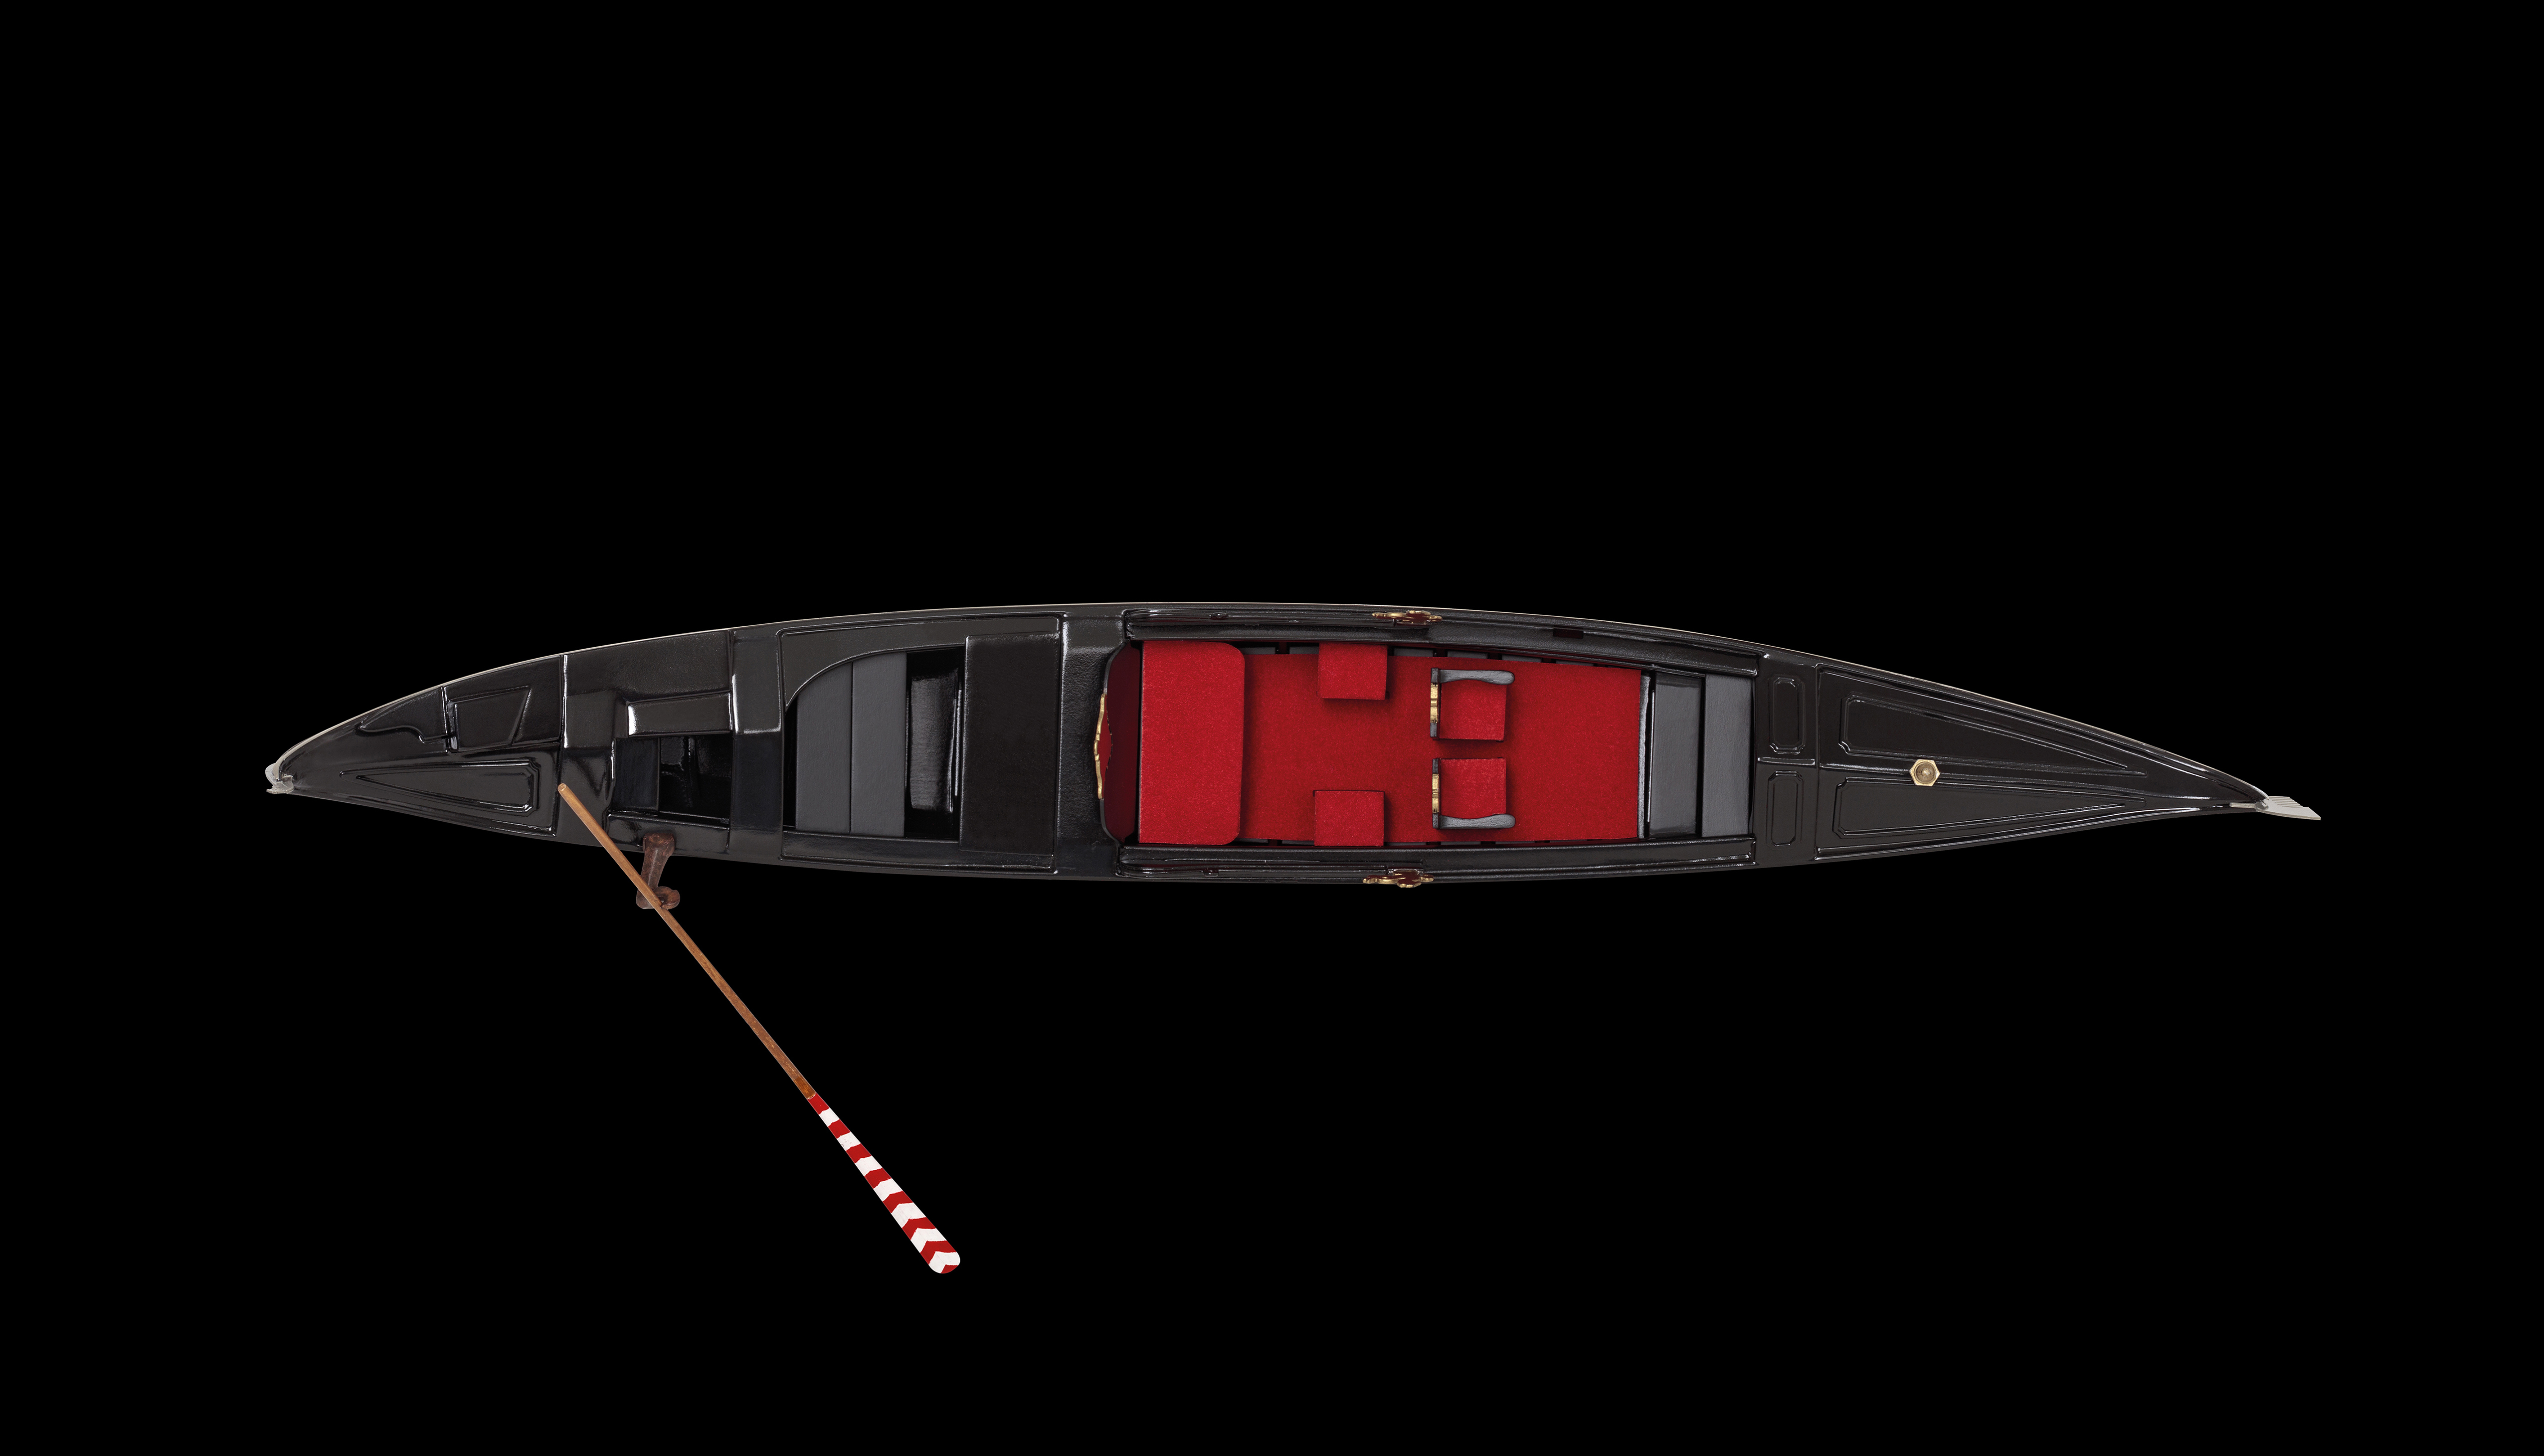
All these parts look something of a mish-mash of pieces stuck to the aft deck. Once things are cleaned up, filled, primed, sanded, and painted black, it will hopefully start looking like the unique and beautiful canal boats it is supposed to represent.

The next step is to seal/prime the whole thing. There’s still many things to add before painting begins, but I’m getting kind of anxious to get the first layers of paint on the model. Won’t be long now…

Building the Amati Gondola – Part 4

Gluing the hull sides to the frames was a bit of a challenge, as the bottom has to curve up at the ends, and the hull sides have to curve inward, so that the ends meet. It would have been nice if this kit had been designed with some sort of building jig, rather than relying on tape to hold things into place while the glue dries.

However, I did find that taping, plus the heavy use of small spring clamps did the trick. Be sure you have plenty of these on hand before you start gluing the hull sides onto the frames. This step is so important that I thought I’d post this image again of the gluing process, showing all the tape and clamps I needed to use.

Continue reading

Building the Amati Gondola – Part 3

I added the remainder of the frames to the model, which didn’t take all that long to do. Overall, this early part of construction is pretty easy. However, the next step, the adding of the hull planks, looks to be the hardest part of the whole build.

The next step involves preparing the hull plank pieces, of which there are only two. These pieces need to be shaped to fit the curved frames. The easiest way to do this is with an electric plank bender, as described in the kit instructions.

Continue reading

Building the Amati Gondola – Part 2

Construction of the Gondola model has begun. As expected, this is looking like it will be a pretty quick build. But, it’s definitely something that requires attention to detail and careful reading of the instructions. Builders who rush forward, may be prone to some simple, but critical mistakes. This is probably why Amati does not considered this to be a beginner’s kit.

By the way, anyone who is interested in following this build log with their own build, you can buy this kit for $129.00 plus tax and shipping at Ages of Sail here. As you are building, follow along and email any questions or note any problems you have about the build to us at blogger@agesofsail.com. We’ll make sure you get personal attention on this project. Send us photos and we’ll post them as we go as well.

Last time, we mentioned that what makes the Venetian gondolas particularly unique is the asymmetrical hull shape. You can see from the photo of the hull bottom that there is a noticeable curve in the hull.

The kit calls on the builder to begin by cutting out the main hull pieces and to identify (and become familiar with) which is the bow end. That’s the end that’s at the bottom of the above photo. It also suggest using fine sandpaper to clean up the surface of the parts from the char that comes from the laser-cutting process.

Continue reading

Building the Amati Gondola – Part 1

Gondola, the Jewel of Venice is the newest Amati wooden model kit, realeased earlier this year. It is a 1:22-scale wooden model kit that measures about 19-1/2″ long when complete.

This is not the first time that Amati has produced a gondola kit. Amati had produced a different kit of a Venetian gondola. That one was a 1:20 scale model, very similar is size to this one. I don’t have much information about the old kit other than the scale and that it was a model of a gondola of 1882, which had a little cabin for the passengers.

This new kit has the appearance of the modern gondola as it appears on the canals of Venice today. So, let’s take a look at what’s included in the box. Continue reading

Amati’s Venetian Gondola Kit – Available Now!

We just receive our shipment from Gondola kits from Amati and had a chance to take a first look at the kit, and we have to say that this is a beautiful looking kit!

Coming in at just under 20″ long when built, the shape of the boat allowed Amati to create what looks to be a fairly easy to build model that features laser-cut frames, hull bottom and side pieces. The kit includes laser-cut wooden parts, photo-etched metal parts, a cast metal lantern, resin fork, and cloth material for upholstery. Instructions are step-by-step, with text printed in english.

Even better is that the price of this kit is only $129.00 and it’s available today, at Ages of Sail! Check it out here. Ω


Ron Neilson’s Amati Xebec Model

Our longtime friend Ron Neilson gave us his permission to share his photos of one of his early builds: Amati’s 1/60-scale Xebec kit. This was only Ron’s second wooden ship model that he built back in  2012. The completed model is about 28″ long, and he clearly put a lot of personal touches into this kit, including the red sails, the color scheme, the deck clutter, and more. He also did a beautiful job with the presentation on  its display base with customized nameplate.

Continue reading

Coming Soon – Amati Gondola

If you saw our last post about Amati price drops and free domestic shipping offer, then you probably noticed a new kit photo. This is a new Venetian Gondola kit that is coming very soon from Amati, and we’re very excited about it.

As you may recall, Amati used to produce a Venetian Gondola kit that disappeared from production for several years. This new, revised kit, looks very promising, and we will hopefully have these in stock within a couple weeks.

Unfortunately, we have very little detailed information about this new kit. So, we’ll let these beautiful marketing photos do the talking for now.

Stay tuned for price and availability announcements any time now. Ω

Amati Swedish Gunboat – Revisiting a Build

It’s been four years now since we shared this build by ship modeler Clare Hess, so we decided it was about time we took another look at this fine build of a classic Amati ship model kit. This kit, roughly 1/40 scale, measures 13.8″ long and about 8.5″ high. These photos appeared in the final post of his build log of the Amati Swedish Gunboat kit.

Visit the full build log on shipmodeler.com here: https://shipmodeler.wordpress.com/category/ship-model-build-logs/swedish-gunboat-group-build/

If you’re interested in building one of your own, check out the entry on our website here: http://www.agesofsail.com/ecommerce/am1550-amati-swedish-gunboat.html

Got photos of your own completed build to share? Contact us at agesofsail@gmail.com!

An Amati Drakkar Viking Ship Build

An Australian ship modeler that goes by the screen name of Amfibius built an incredibly well done Drakkar Viking Ship that he built from a kit by Amati Model. The model photos were posted on the ModelShipWorld forum was back in 2013, but that doesn’t take away from the great presentation he made of his model.

We reached out to him and asked him if we could share his photos and news about his build on our blog. So, here’s his beautiful Drakkar build, presented here with his permission.

Continue reading